My favorite desciption of cooking eggs comes from Richard Olney in his book Simple French Food, first published in 1974. In his recipe for making a simple rolled omelet he instructs to “break the eggs into a soup plate” before beating “the eggs lightly with a fork, just enough to combine yolks and whites”. He then describes melting the butter in the pan, tilting “in all directions in order to evenly coat the sides and bottom with butter, and the moment the butter has stopped foaming and the slightly nutty odor of brown butter is perceptible, pour in the eggs…” after giving the eggs a little whisk in the pan with the fork he advises to “Gently lift the edge of the omlet with the tines of the fork at two or three points successively, tilting the pan at the same time to permit as much liquid egg as possible or to run beneath…” I didn’t come across this recipe until maybe 5 or 6 years ago, but it describes so perfectly much of my process for making scrambled eggs. At home I now use a fork and a soup bowl when I make just a couple of eggs at a time, and I always think of this passage. I love this recipe because I think it embodies everything about cooking simply and well: attention to detail, sensory engagement and minimal fuss.
…….
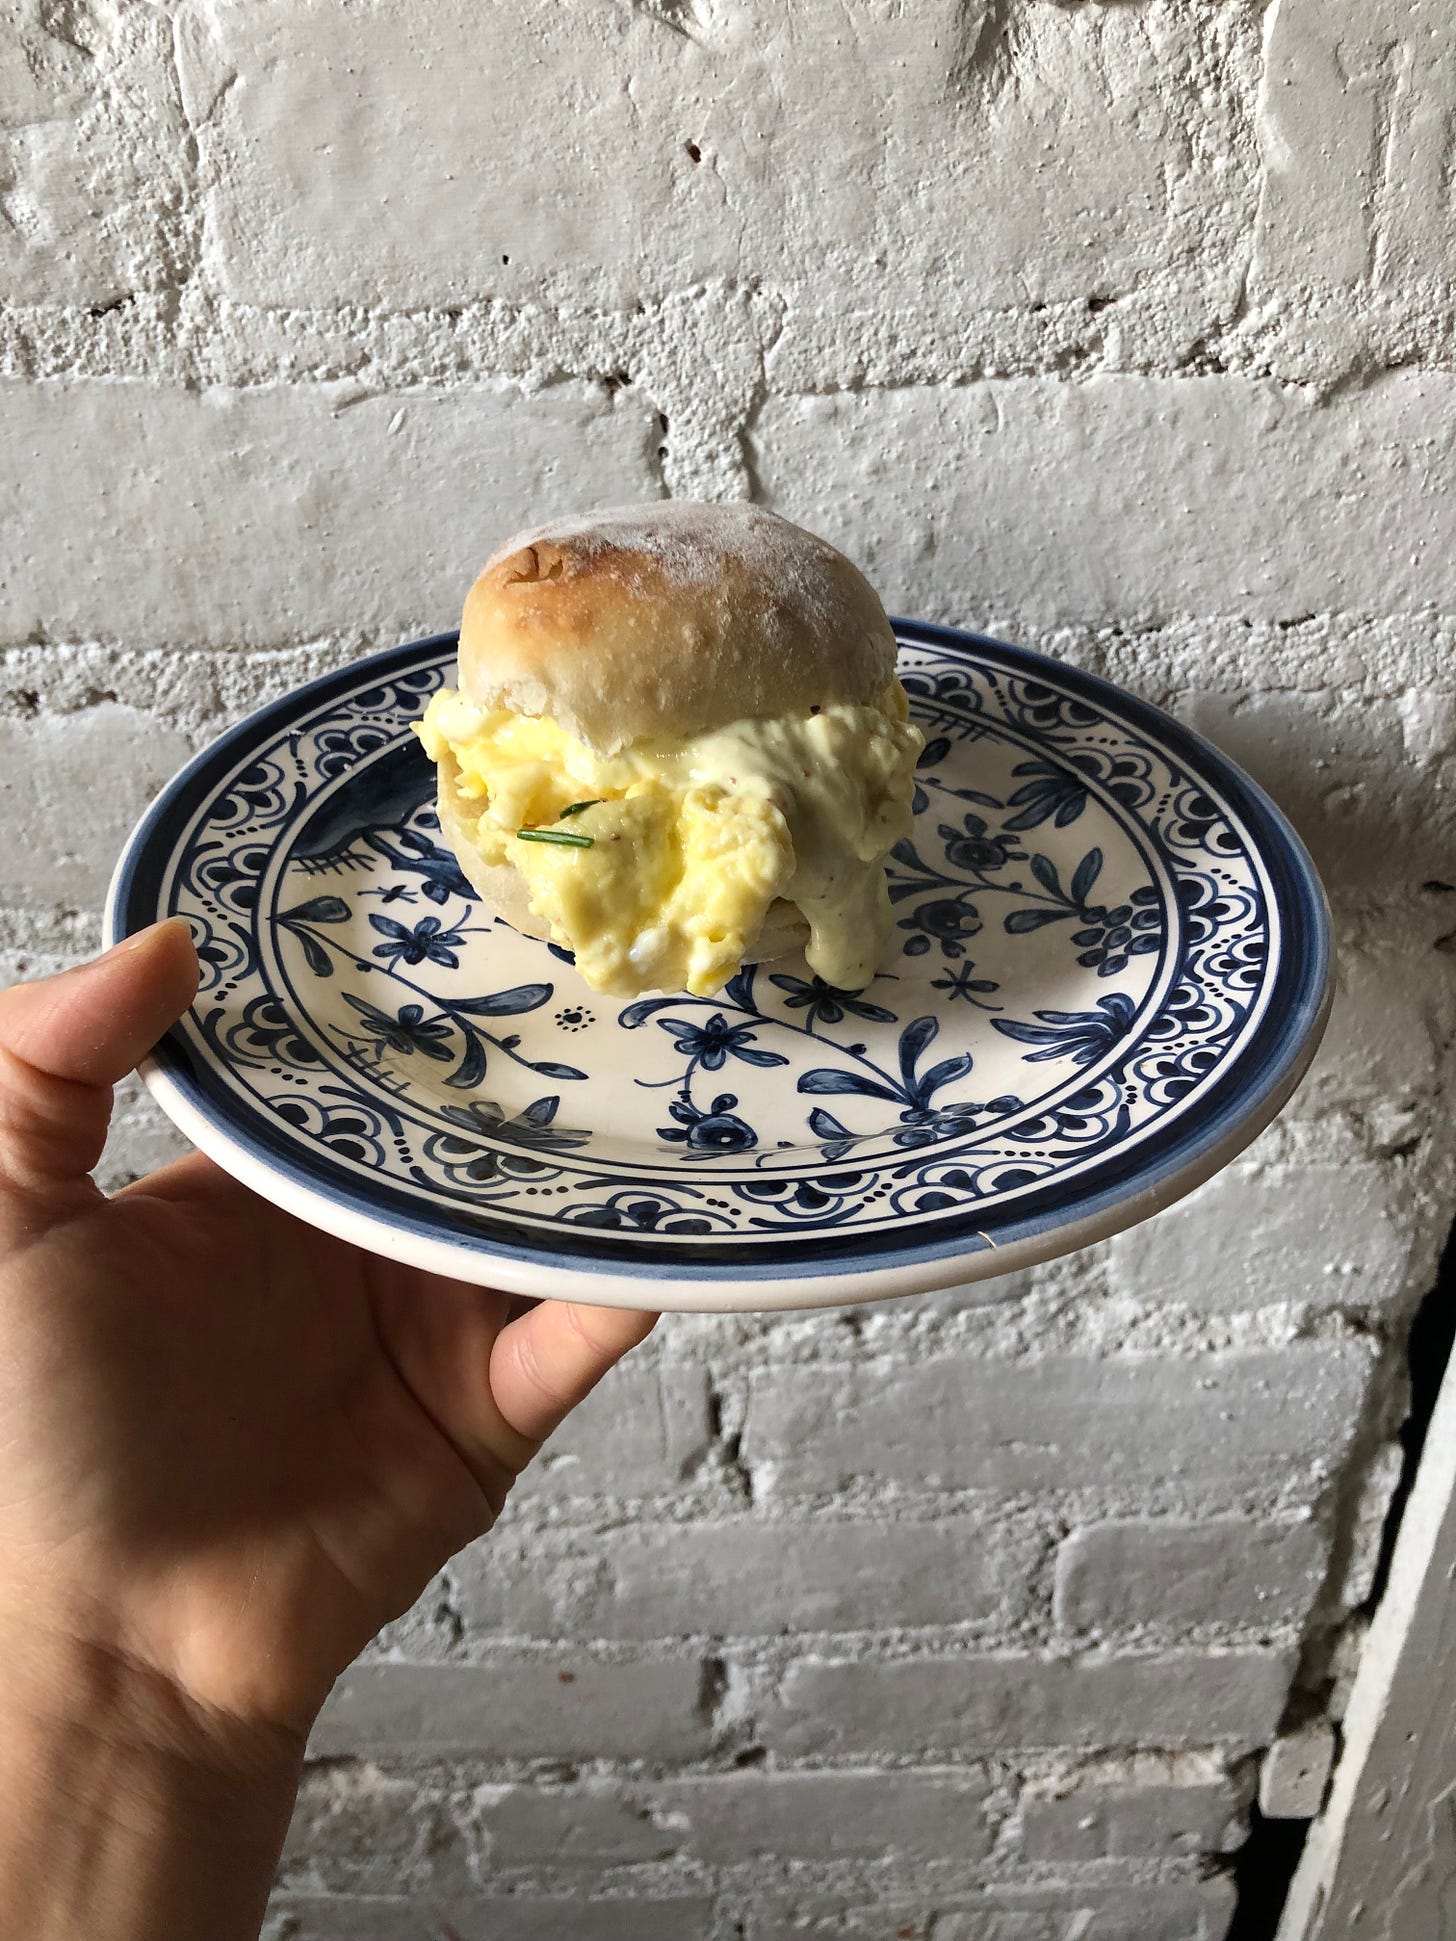
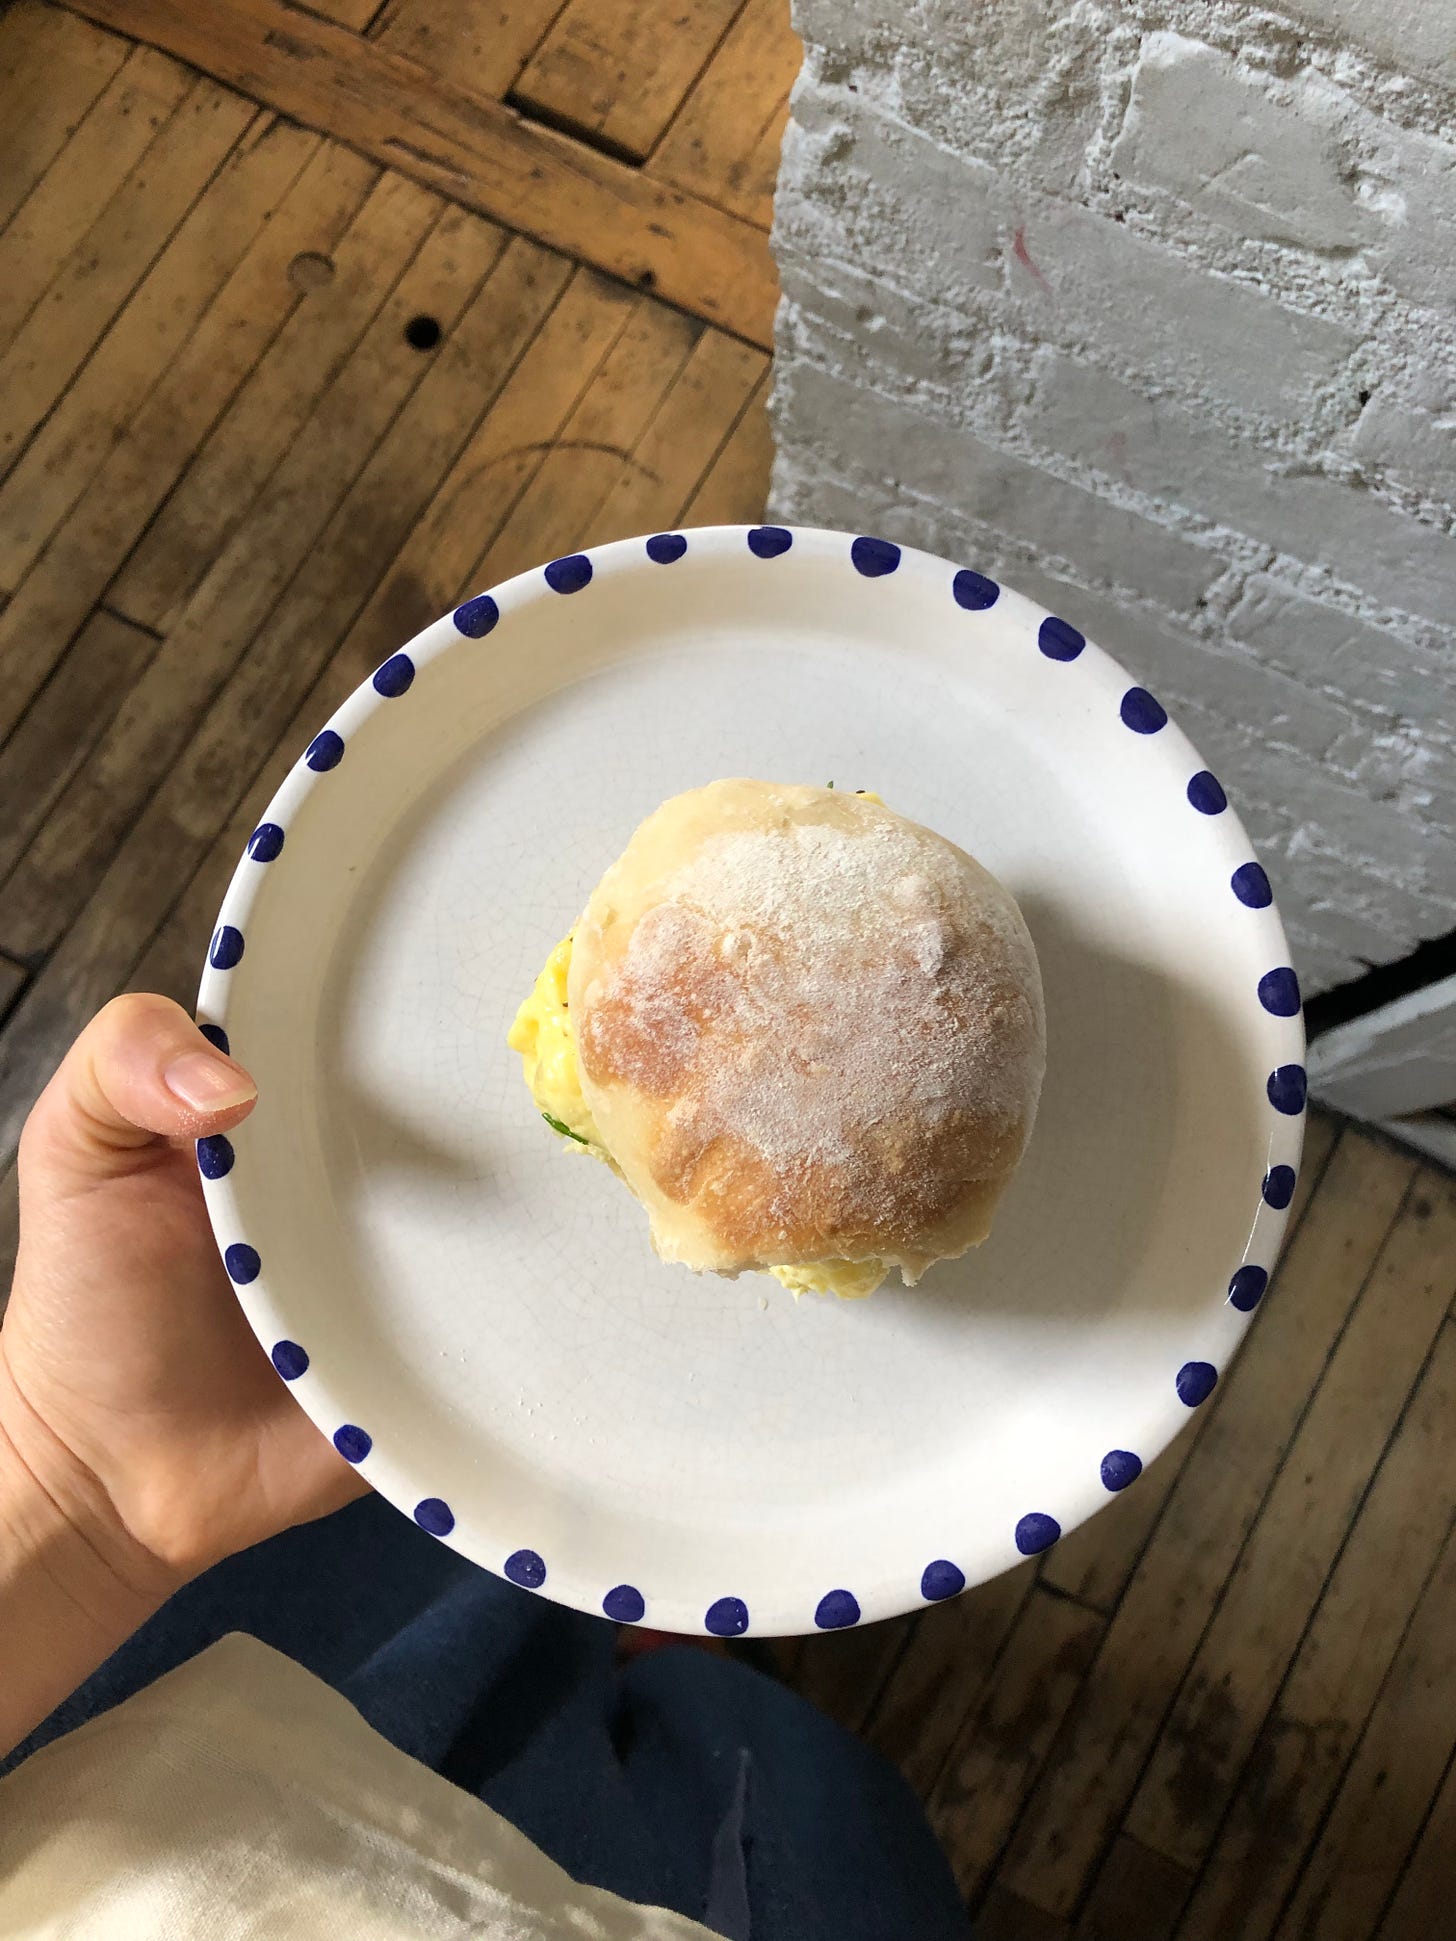
The Astro egg sandwiches have been, by far and away, the most beloved thing I have ever made. We made dozens of them everyday at Astro for the more than 10 years we were open. When I used to tell people I owned Astro (with my husband), they would often just say “I love that egg sandwich”, it still happens from time to time even 2 years after we closed. I’m not going to lie, it always kind of surprised me, yes its a good sandwich but we made so many other things that were also really good. The egg sandwich was so simple: soft scrambled eggs, a few fresh herbs and aioli on a soft white yeasted roll. I think their popularity speaks to our need for simplicity in an overly complicated world…they are the sandwich equivalent of a bowl of chicken noodle soup.
There is something so elemental about eggs, a perfect food really. I have said it before in my frittata recipe, but I think when you cook an egg it really matters the energy you come into making it with. If you are irritated and in a hurry, so will your eggs be. It doesn’t take a lot of time, but if you are relaxed and in the moment, like a gentle meditation, I promise your eggs will be better for it!
This egg recipe is half of what we would make at Astro, where we would use 12 eggs and yield 10 sandwiches. Here, 6 eggs will yield 4-5 sandwiches. Simply double the recipe for the larger amount and use a 12 inch pan.
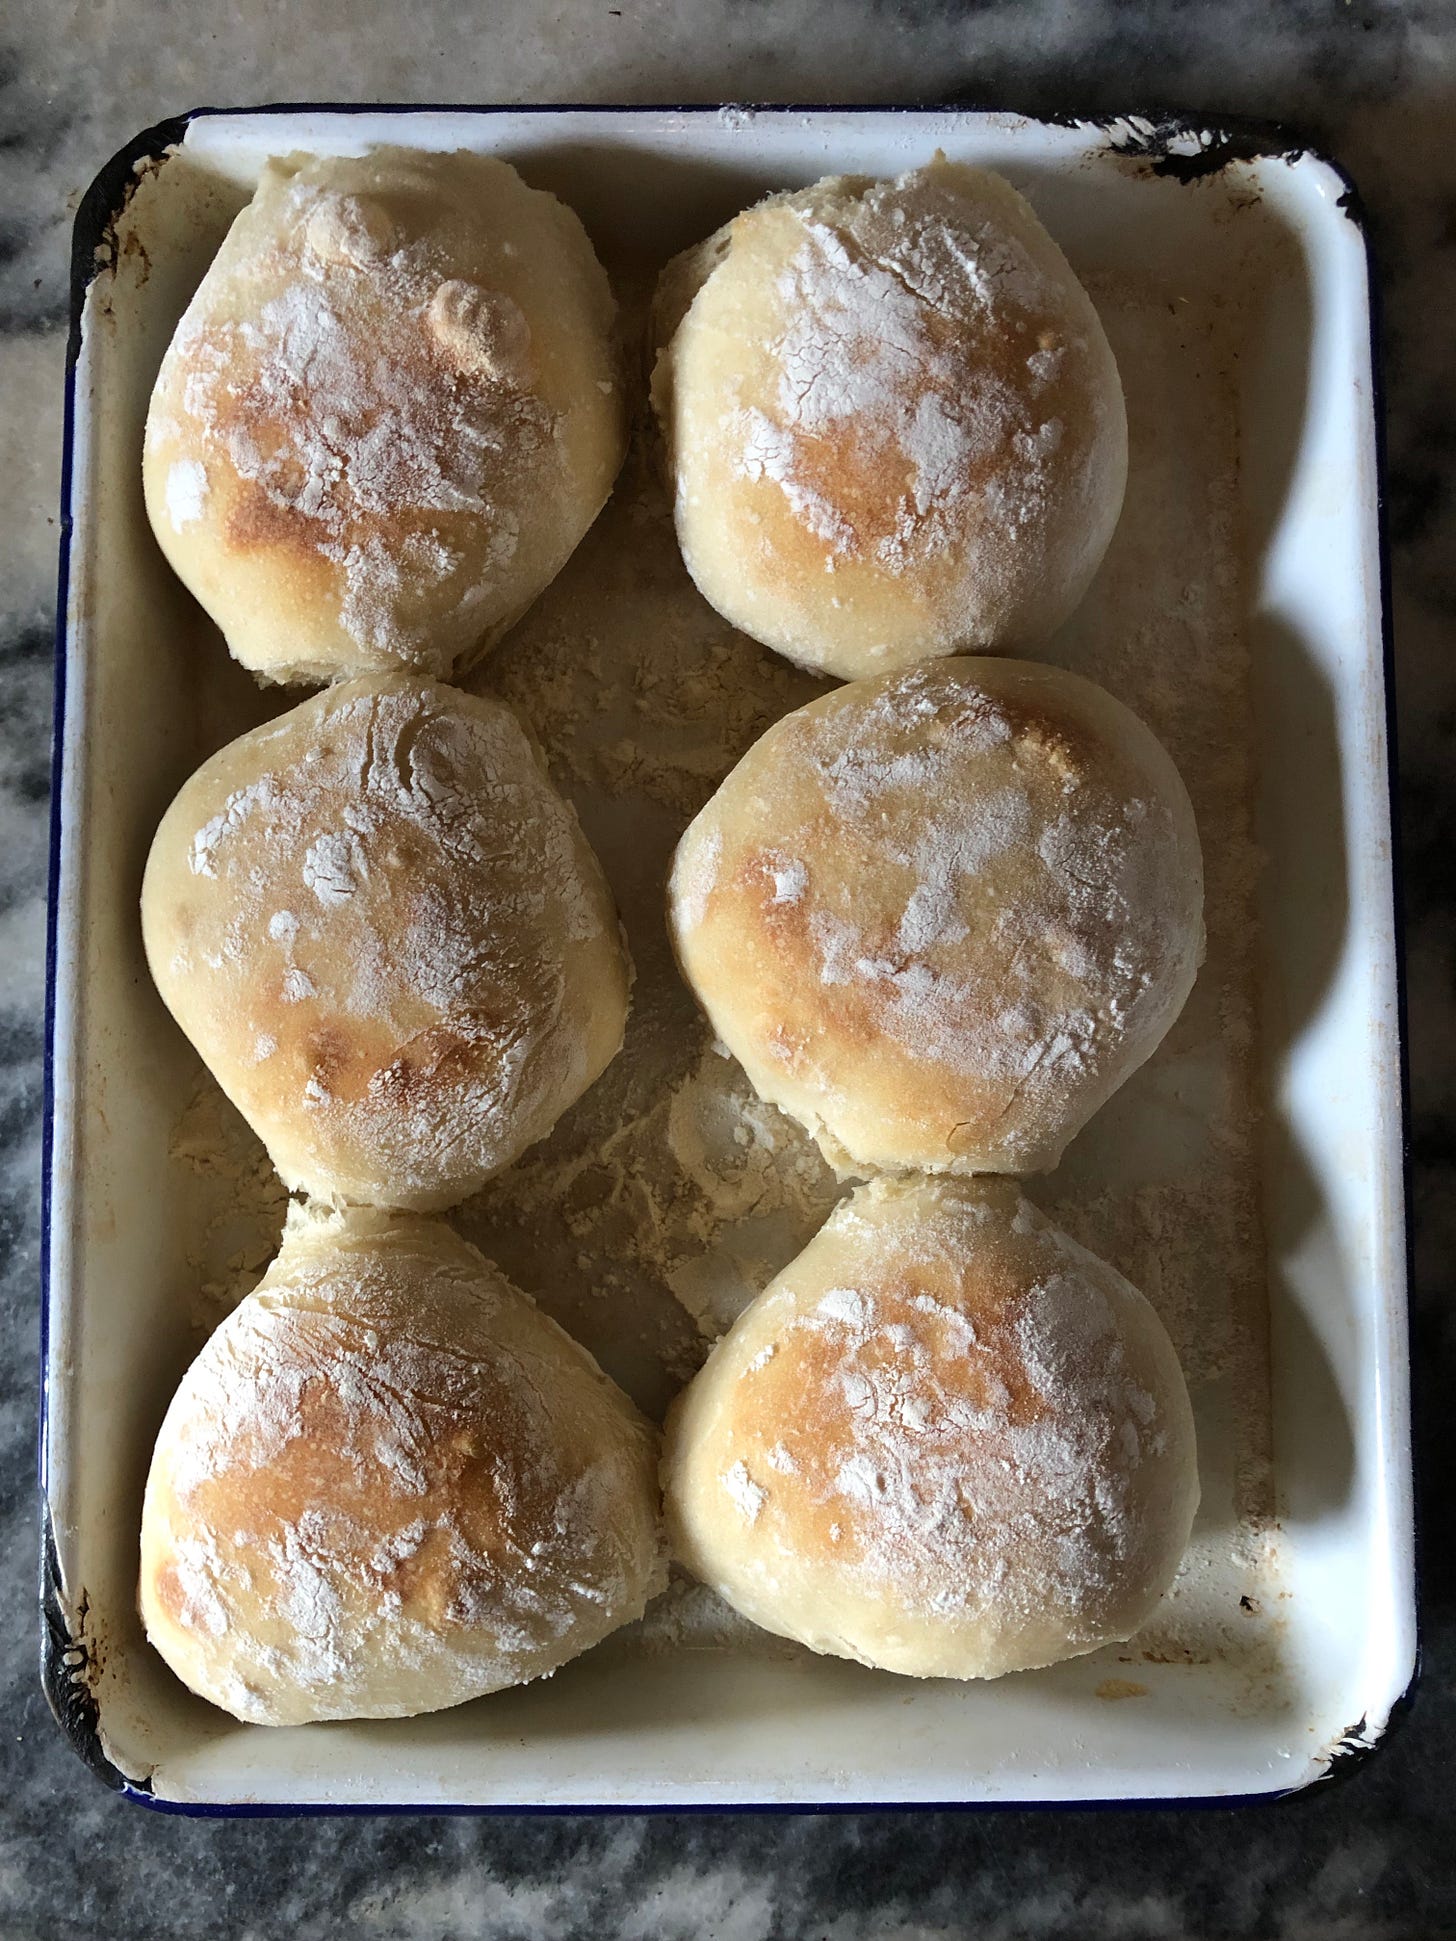
The dough quantity makes 12 rolls because I don’t think it’s worth going to the trouble of making your own rolls for any less than that. They freeze very well, just remove from the freezer a couple of hours or the night before you wish to use them and reheat in a moderate oven for 7 or 8 minutes until warmed through. Of course, you don’t have to make your own rolls, try to find a smallish, soft, white bread to substitute.
As for the aioli, it is much easier to make a double batch of aioli than a single one, but rarely does a household need 2 cups of aioli to use within the span of a few days. I have given the recipe here for a single batch- which will make at least 10 egg sandwiches or so- as well as my instructions for how to fix a split aioli which is incredibly helpful because if you spend any time making your own aioli or mayonnaise, a split batch will be inevitable at some point! If you do not use the whole batch on your egg sandwiches it is not difficult to find a use for an extra 1/2 cup of aioli (hello chicken/tuna/egg salad; a dollop on top of chickpea stew; thinning with a little extra vinegar for a Cesar-seque dressing- or make ranch dressing for that matter- or eat alongside roast chicken and/or vegetables)
Astro Aioli
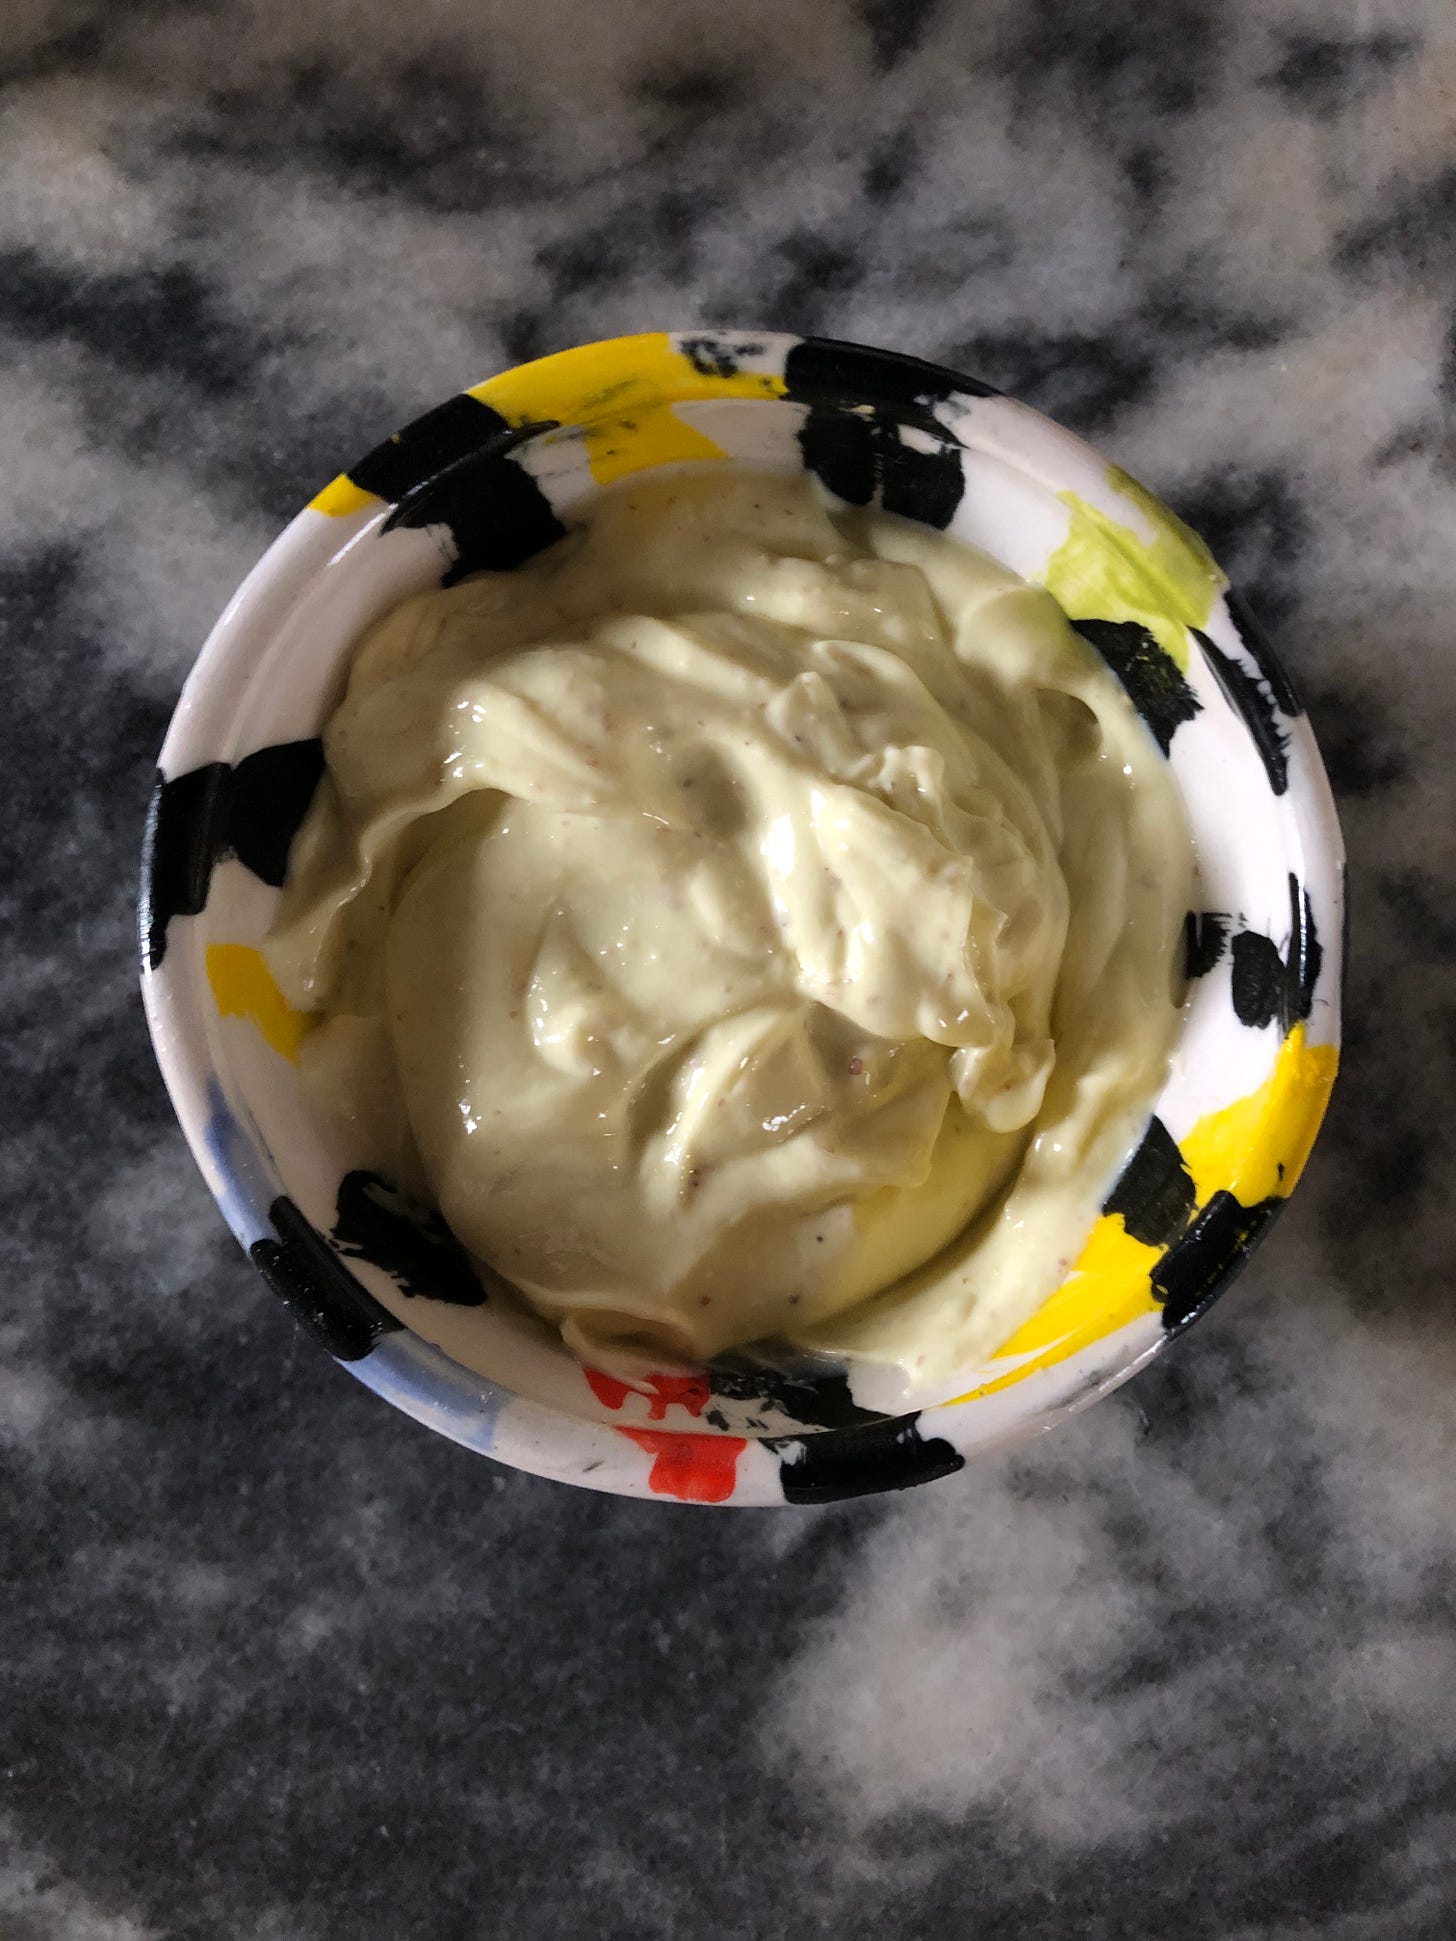
Most notable about this ‘aioli’ (no, it’s not a true aioli to a purest, but that’s what we like to call it) is that it is made with apple cider vinegar. I can’t really remember exactly how it happened, I likely didn’t have any lemons, but it stuck and became our standard. Secondly, I don’t prefer to use seed oils in my cooking but for this I make an exception. If you use all olive oil you will end up with a something that is overpoweringly bitter. You can make this using a mini food processor or a stick blender if you have one (follow the same method of slowly dripping in oil) but I think it is just as easy for a single batch to whisk by hand.
1 clove of garlic, crushed to a pulp or grated with a microplane
1 egg yolk
1 T apple cider vinegar
1 T dijon mustard
1/2 tsp salt
3/4 c sunflower or grape seed oil
1/4 c olive oil
Place a small mixing bowl on top of a damp kitchen towel- this will help to stabilize the bowl while you whisk. Into the bowl place the egg yolk, garlic, mustard, vinegar and salt and whisk together well. In a pouring jug, combine the 2 oils. Using a small whisk or wooden spoon (whisk is a safer bet if you haven’t done this before), begin to whisk the egg mix while at the same time adding the oil, drip by drip initially and then in a VERY slow steady stream, into the egg. This should be a slow process, making sure the oil is completely incorporated into the egg as you add it. If it is looking oily or separated you are going too fast, the idea is to slowly emulsify all of the oil into the egg without it splitting. If you accidentally add too much oil, tilt your bowl so that the oil runs to the side and then slowly incorporate that oil into the rest of the mixture. Continue adding the oil until is all mixed in, your resulting aioli should be completely smooth and fairly thick, if it is runny but not split, it will still be ok just try adding the oil more slowly next time. If it is separating (split), all is not lost: put the entire mix back into the pouring jug. Take another egg yolk and place it into the bowl then add 1 T of hot- almost boiling- water. Whisk the egg yolk and the water together and then repeat the process of pouring in the oil using the split batch as the oil. Remember to go very slowly.
Bread Rolls
4 c ap (plain) flour, plus extra for dusting
1.5tsp dried yeast
1 T salt
2 1/3 C warm water
Place the dry ingredients into a large bowl and mix to roughly combine. Add the water and using your hand or a wooden spoon, mix until it there are no dry spots left- you will have quite a sticky dough. Using you hand- you can wet it to help keep the dough from sticking so much- pull up the dough at the sides and pull it over the center of the dough. Go around the sides of the bowl pulling the dough up and over itself. You will begin to see the dough become more elastic or stretchy, breaking less easily, the more you pull and stretch it. After about a dozen or so pulls, place a cover over the bowl- a piece of plastic wrap, a plastic bag or beeswax fabric is good (or transfer to a container with a lid with room for the dough to at least double in size) and either place in the fridge overnight or leave in a warm place until doubled in size- about 2-4 hours depending on the room temp.
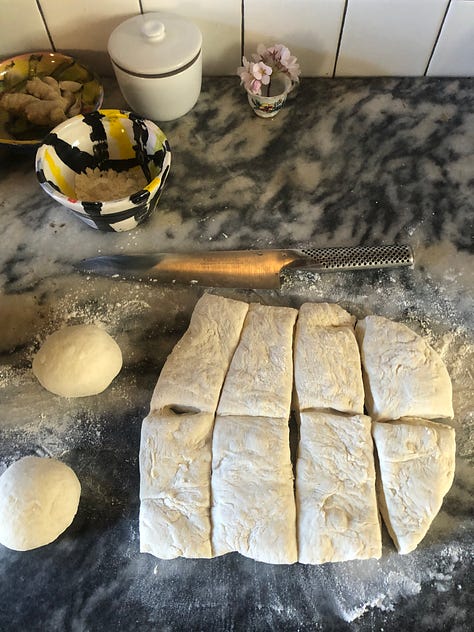
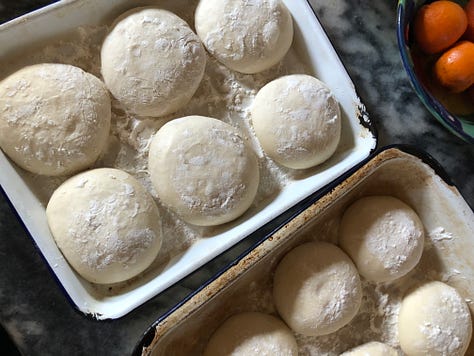
Remove the dough from the fridge. Lightly dust your counter top with flour. Gently punch the dough back down and then tip onto the floured surface. Shape dough into a rectangle and then cut into 12 pieces. Shape each piece of dough into a round- you can do this using the counter top if you like: place your piece of dough on the counter, floured side up, and pull it towards you with you hand cupped around it. Rotate 90 degrees and repeat- as you pull the piece of dough towards you it will stick to the counter slightly creating tension as it rolls over itself. Rotate again and repeat a couple more times to make a little round. Repeat with the remaining pieces of dough. If this is too much of a process or if it does not work for you, fear not! shape them as well as you can into a round, or if you do not mind them being slightly abstract shaped, they do not need to be shaped at all! Flour the tops of the buns and place onto a well-floured baking tray at least 2 inches (4cm) apart and allow to rise, lightly covered with your plastic bag or beeswax wrap for about 20mins to an hour, it will depend on if your dough is cold or not, until about doubled in size (they might not quite be doubled) or until when you poke the dough with your finger it makes a dent and then slowly springs back.
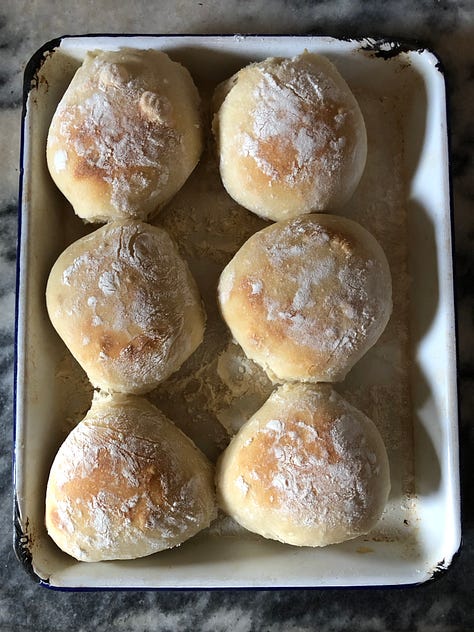
While the rolls are proofing, pre-heat the oven to 425F/ 220C. Bake rolls for 20-25 minutes until lightly golden brown and hollow sounding when you tap them on the bottom. Allow to cool.
Eggs
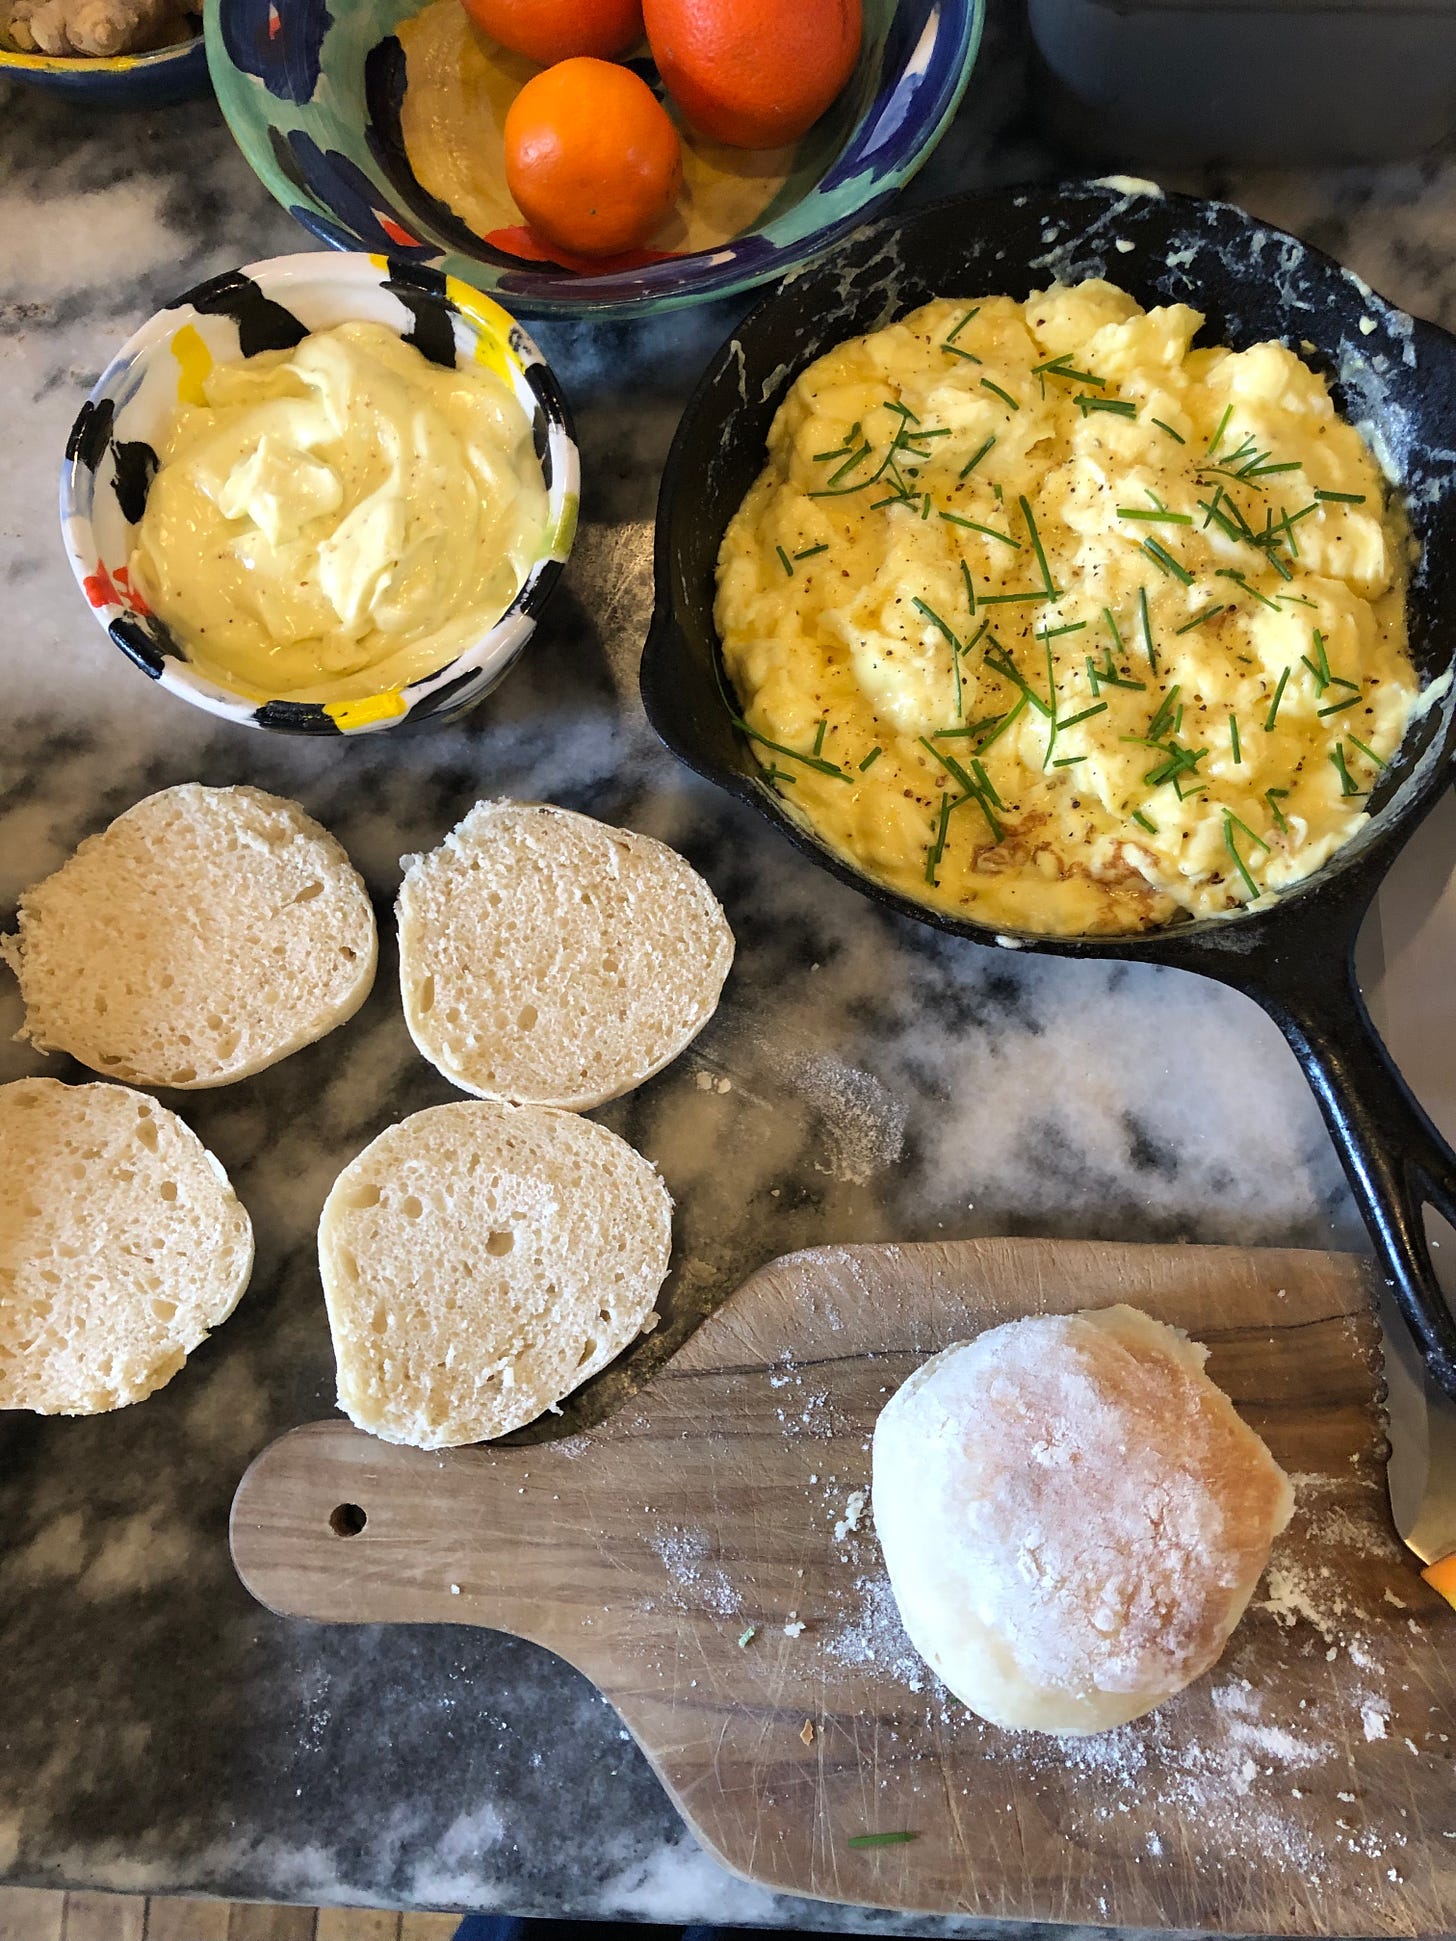
This is something between a scrambled egg and a frittata or flat omelette. I am not crazy about sheeted eggs which are the norm in the US for most egg sandwiches made in any quantity, and so I came up with this hybrid method for cooking batch eggs. It is important to use heavy whipping cream here- not half and half or milk- to ensure the eggs are soft and creamy. When mixing them, you want to always use a light touch and whisk right before they go into the pan. Whisk only enough that they are just combined, none of this beating the life out of them business! It is especially important not to add the salt to the eggs then let the mixture sit as salt destabilizes the proteins in the eggs making it impossible to get those lovely fluffy clouds. I have given the recipe for eggs with soft herbs here, but you can also use resinous herbs such as sage, rosemary or thyme. If using these herbs, add them to the butter to cook them slightly before adding the eggs to the pan.
One note on equipment: it is infinitely easier to make eggs in any quantity in a non-stick pan- one that hasn’t got a scuffed up surface. I use the same rule for pan size here as for when I make frittata which is 1 inch per egg, meaning if I am making 6 eggs I use a 6 inch pan. For 12 eggs I use a 12 inch pan. This is just a guide, but I find it helpful. A whisk is best for combining more than a couple of eggs, as is the case here, as you don’t need to work it too much. If you have a heatproof silicon spatula, use it to cook the eggs, the next best thing would be a lifter or flattish wooden spoon.
6 eggs
1/2 cup heavy whipping cream
3/4tsp salt
2T butter
small handful of chopped fresh soft herbs such as chives, chervil, French tarragon, parsley or dill
cracked black pepper
flakey sea salt
Crack the eggs into bowl, add the cream and salt.
Get the pan going over medium-high heat and add the butter.
Gently whisk the egg mix together until just combined.
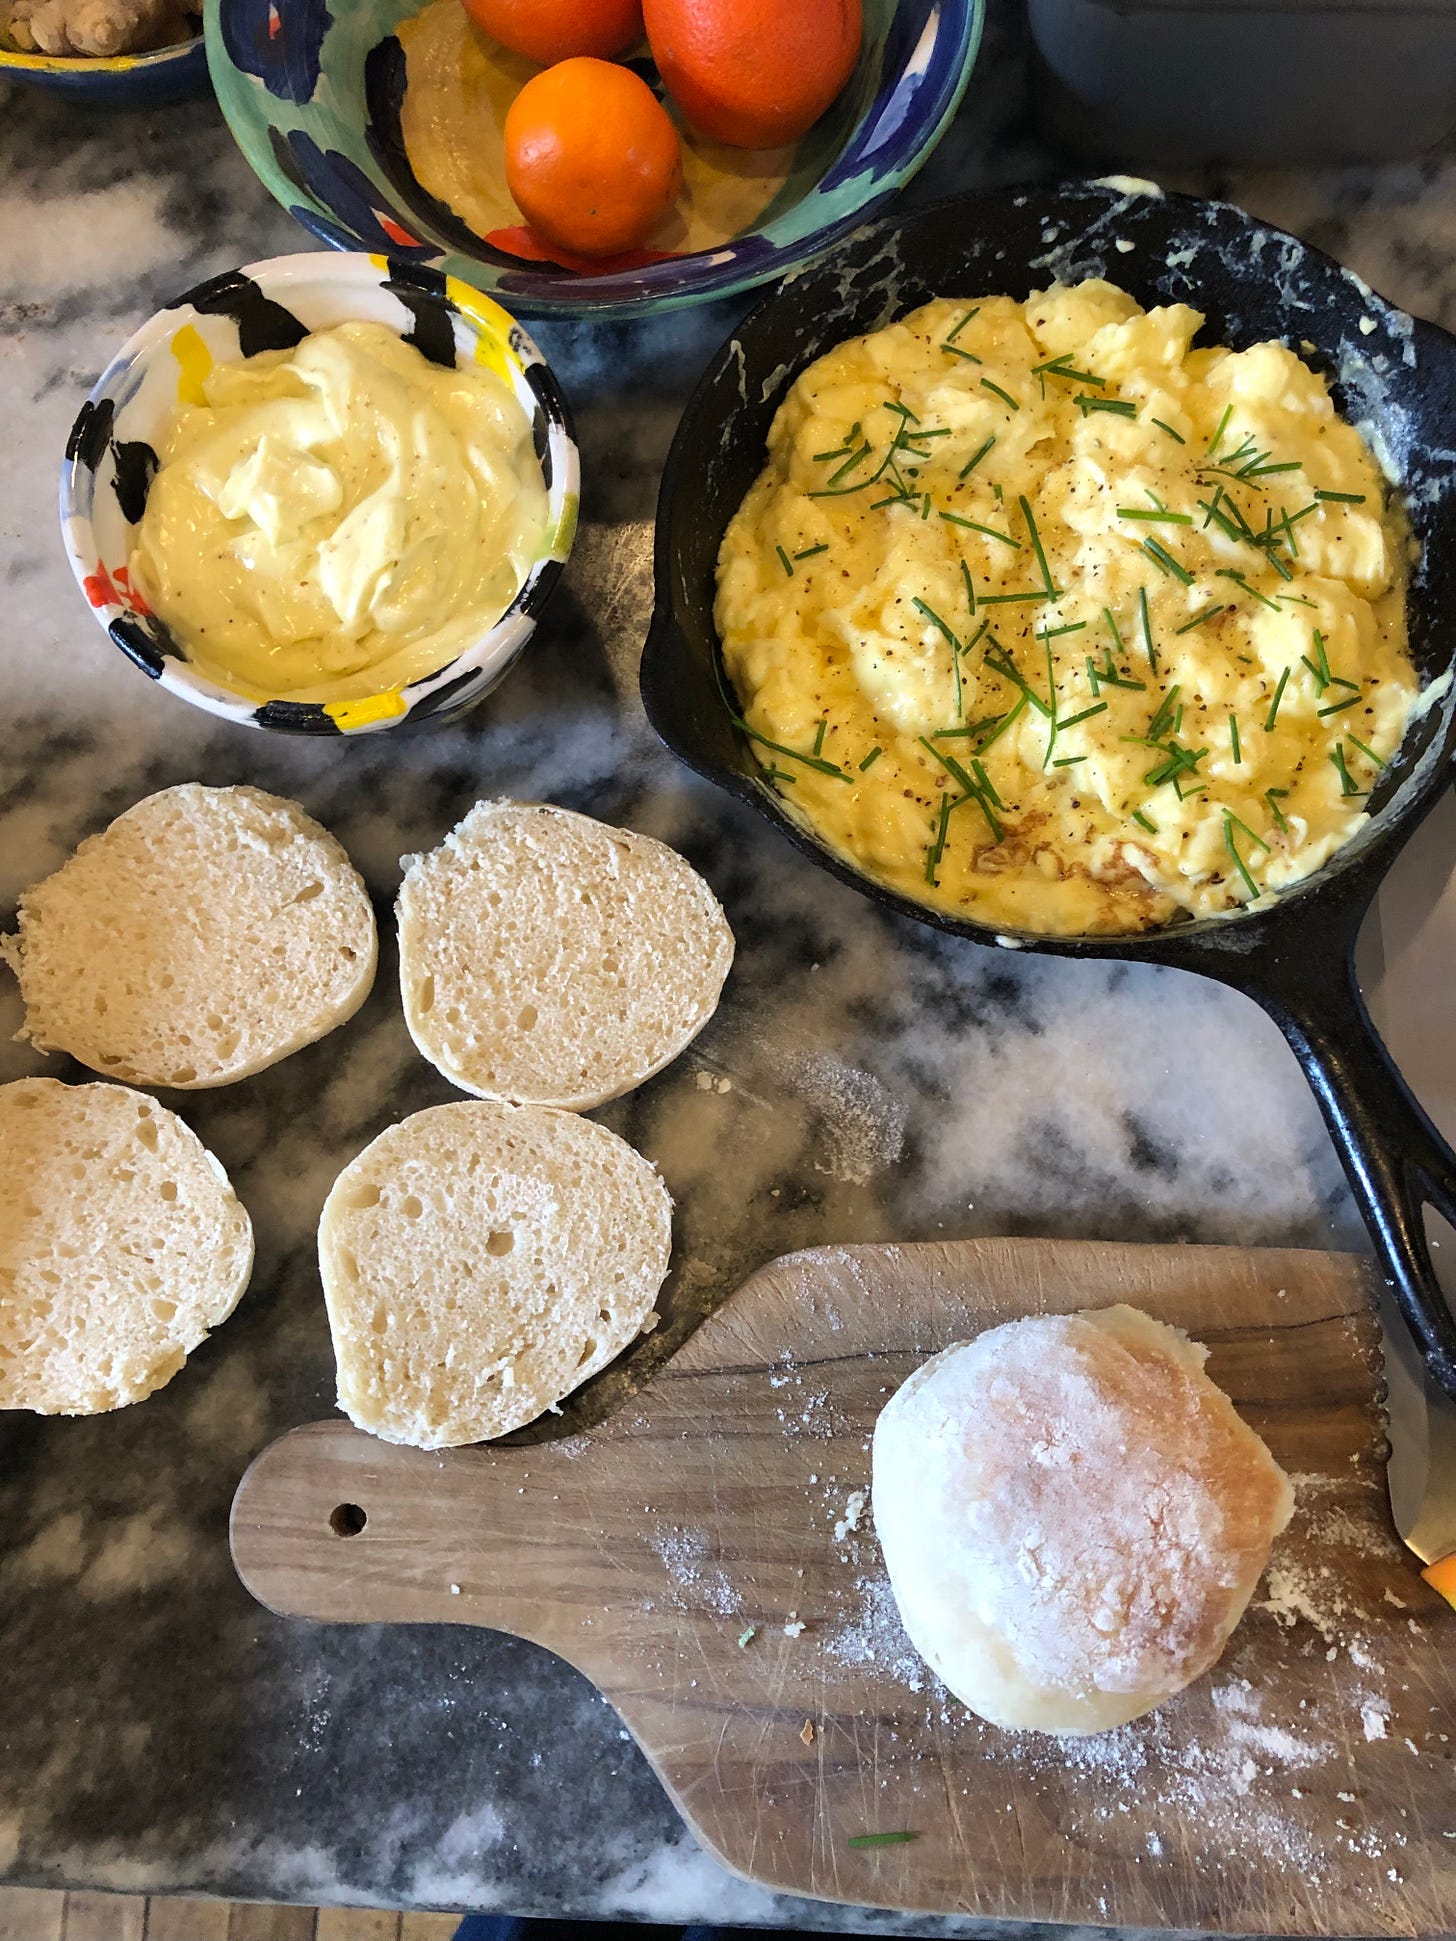
Move the pan to disperse the butter evenly over the bottom and sides of the pan and when the butter has just stopped bubbling, add the eggs. Allow to sit for a moment, until you can see the egg setting around the sides of the pan, then slip your spatula until the eggs and run it around the sides, lifting to allow the egg to fall underneath, tilting the pan gently to direct the egg as needed. Allow to sit for another moment, perhaps not so long this time, before repeating the lift and tilt to allow the egg to run underneath. Continue this process of gently lifting the egg and tilting the pan until there is no liquid egg left- you may need to turn the heat down towards the end of cooking. The top of the eggs should still be glistening, ever so slightly undercooked (they will continue to set as they sit), and the base of the eggs should not be brown. Top with a sprinkle of herbs, a crack of black pepper and a pinch of flakey salt.
Egg Sandwich Assembly
2 T butter, melted
1/2 cup aioli
5 bread rolls
1 x egg sandwich eggs
If you are using rolls that were not baked today, refresh them in a moderate oven for 7-8 minutes until warmed through.
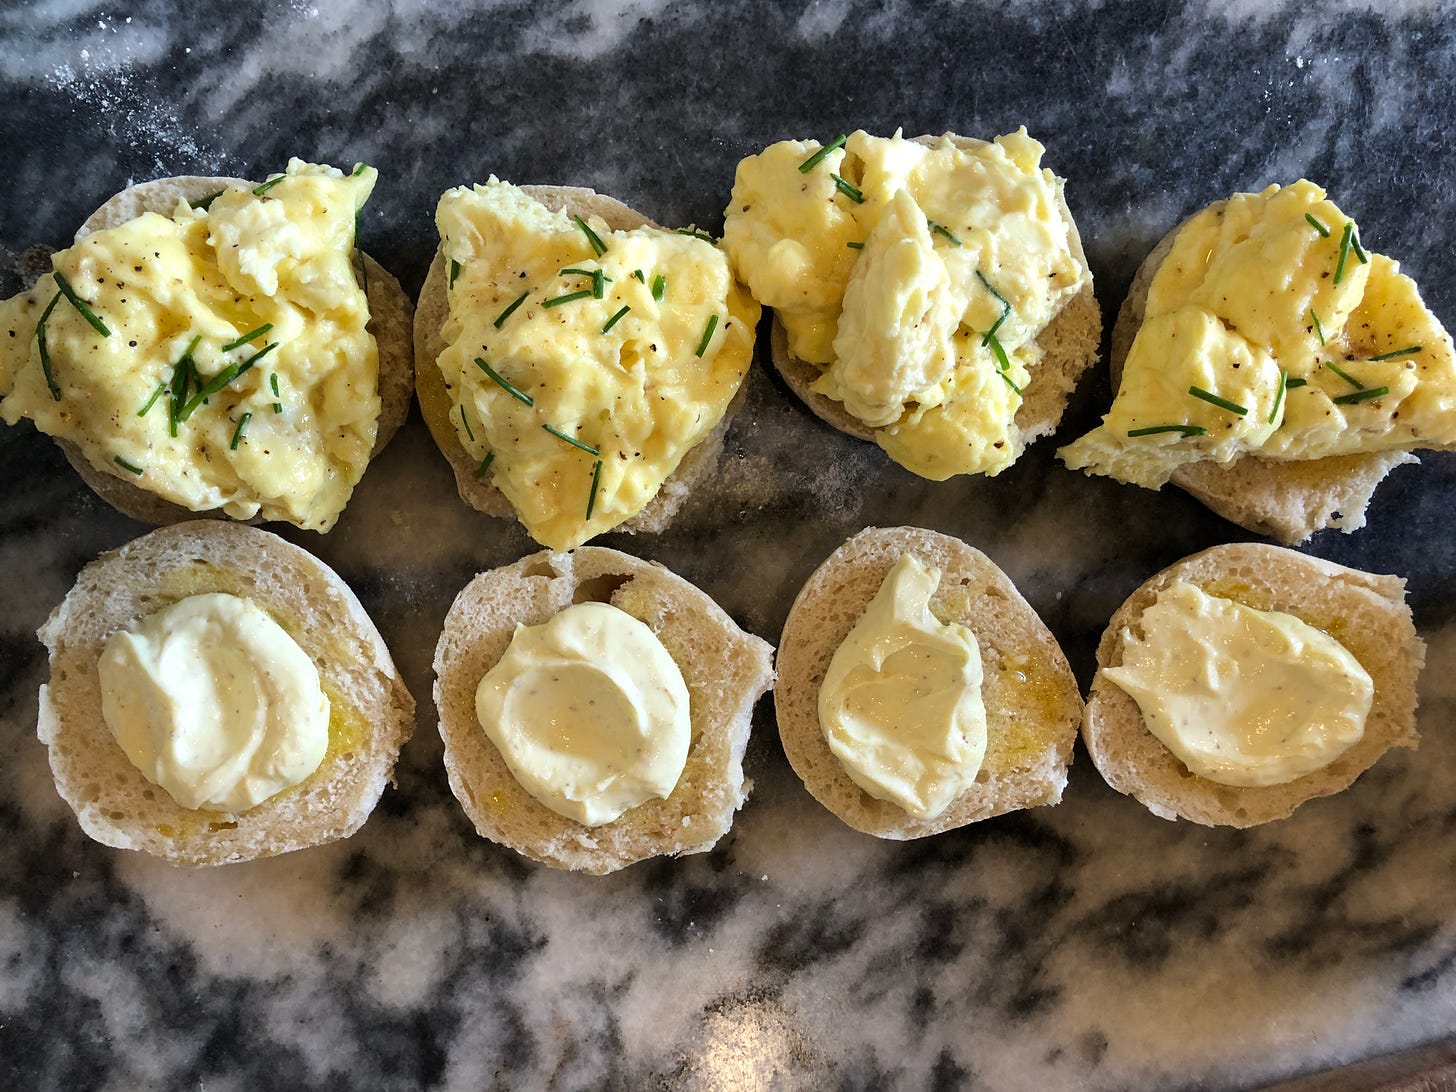
Using your spatula, portion the eggs into 5 triangles.
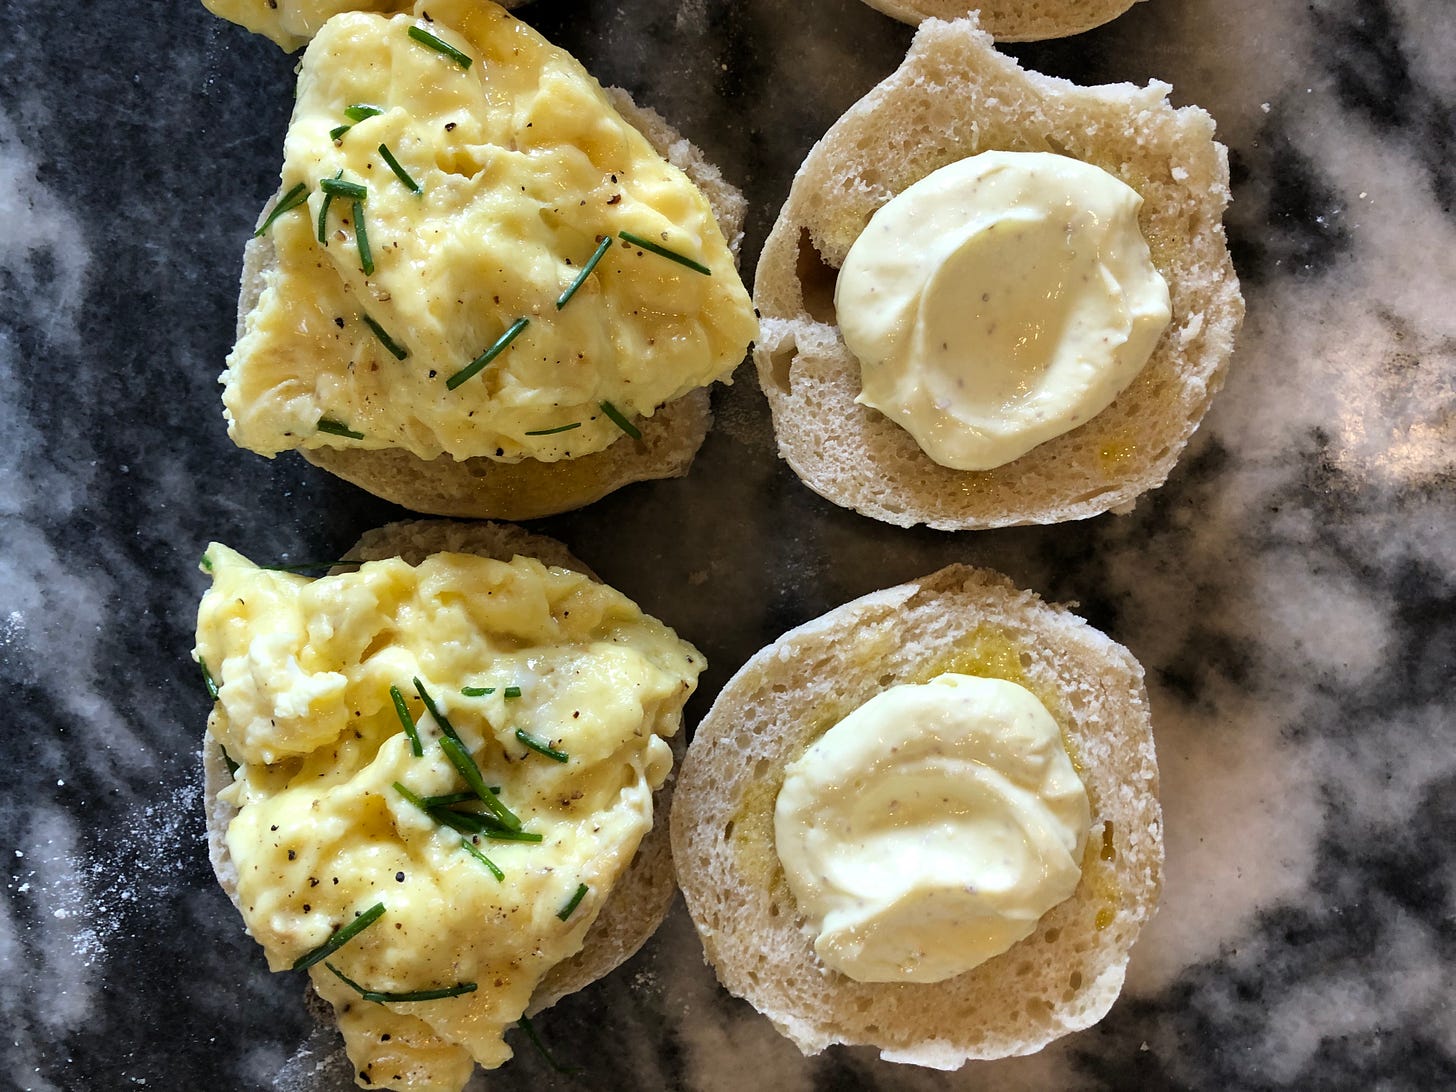
Split the rolls in half. Brush each half with a little butter. On the bottom half of the roll place a triangle of the egg, dollop on a tablespoon of aioli and sandwich with the other half of the roll. I think it is especially good if they go on a panini press at this point before eating, but that seems like a lot for at home!


