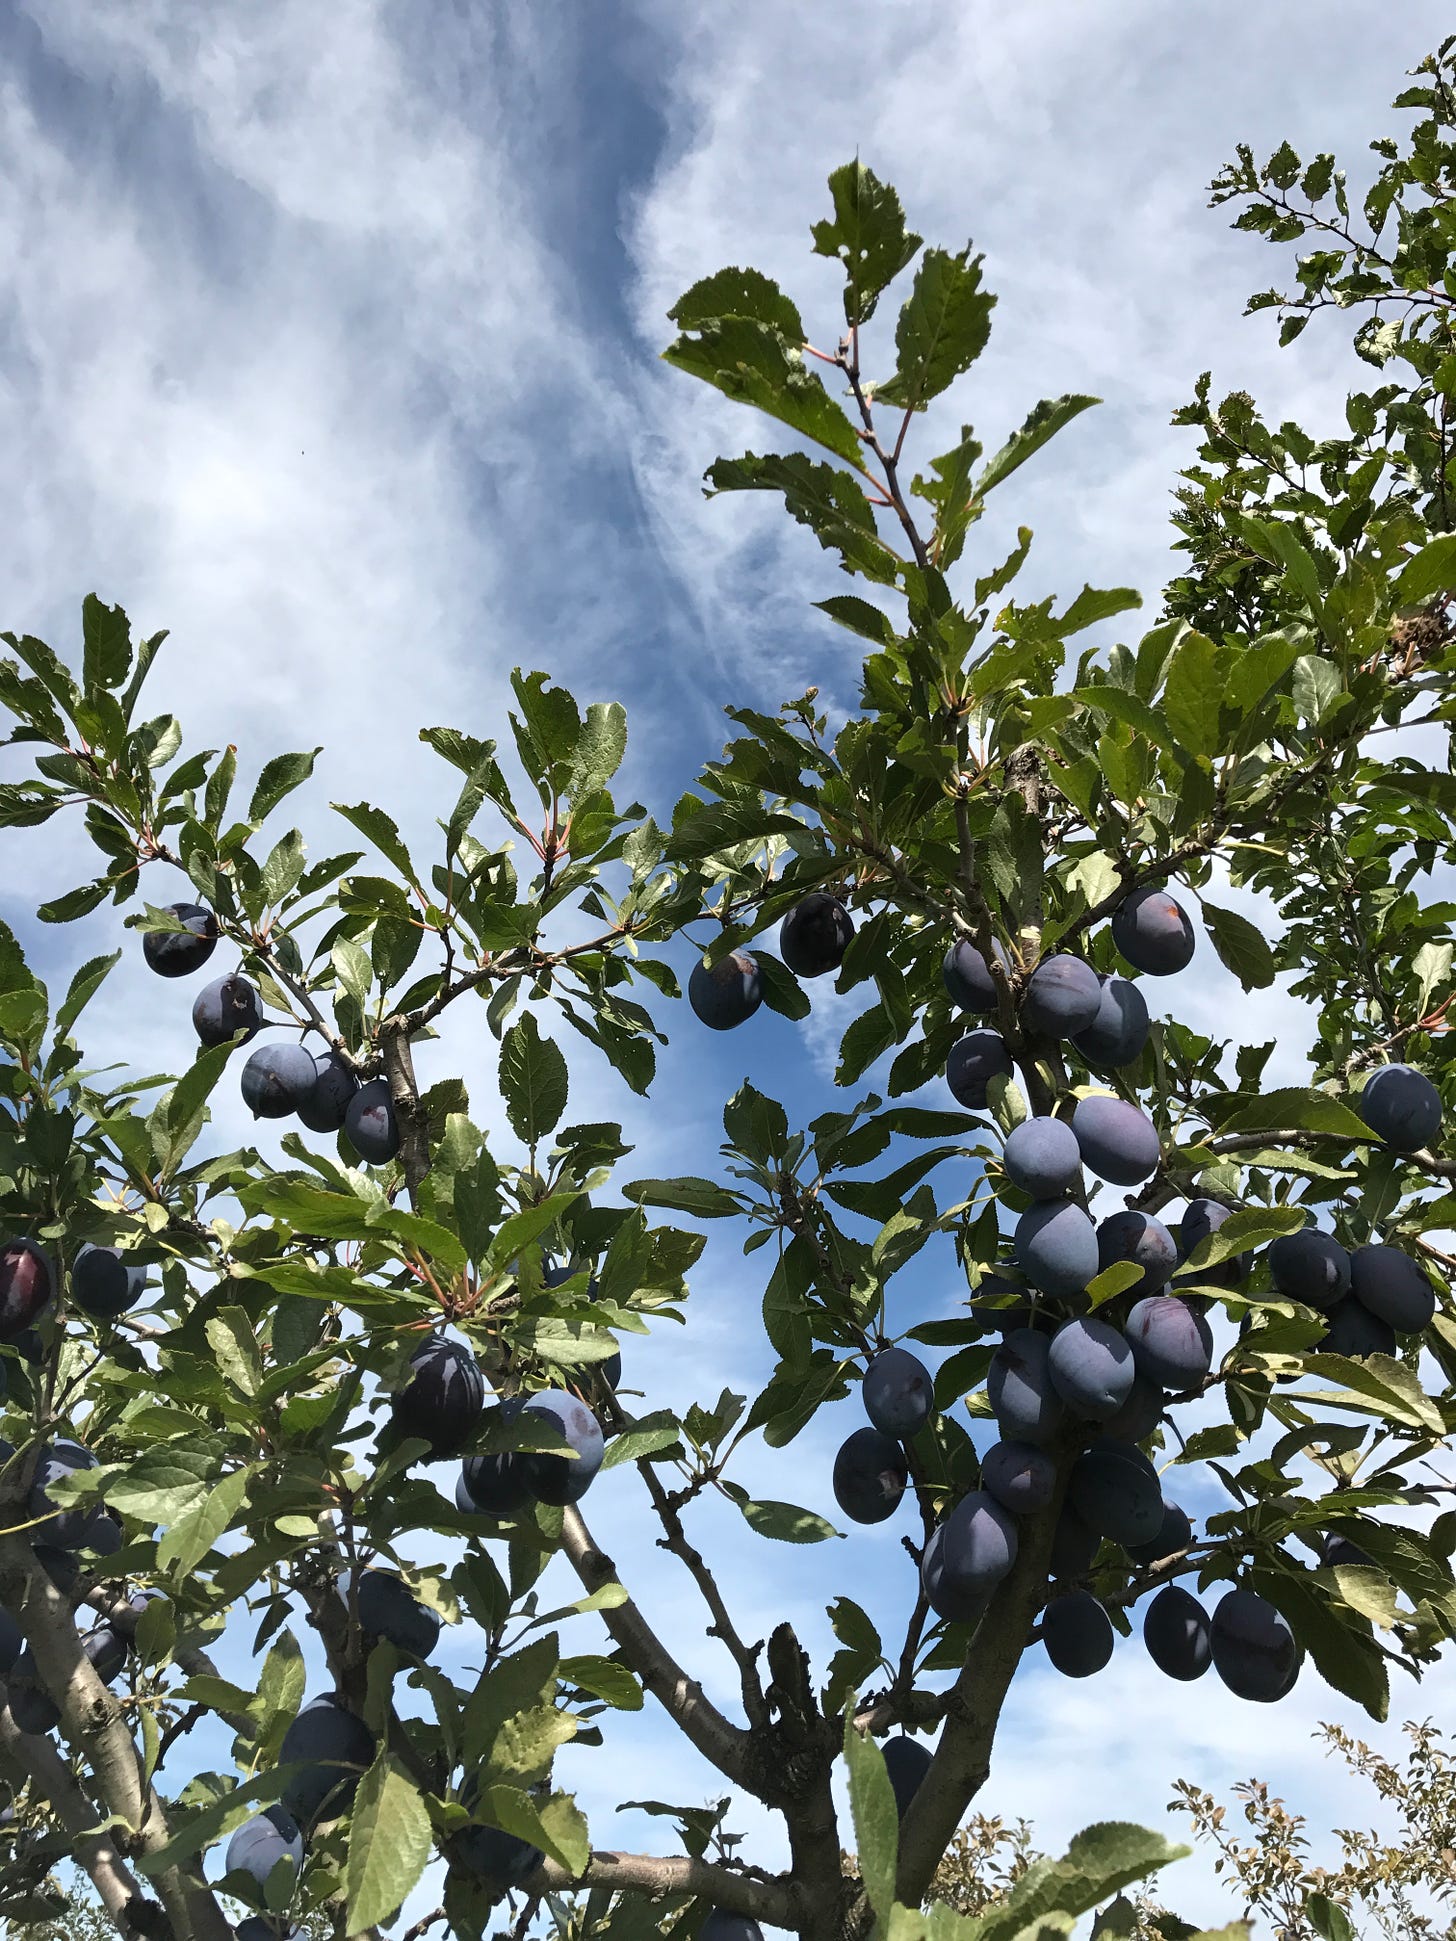
The air is thick and warm during the day, with the whisper of a chill at night. The cicadas are loud in the locust trees, the garden is relaxing into an overgrown mass of seed heads. Plum season has arrived!
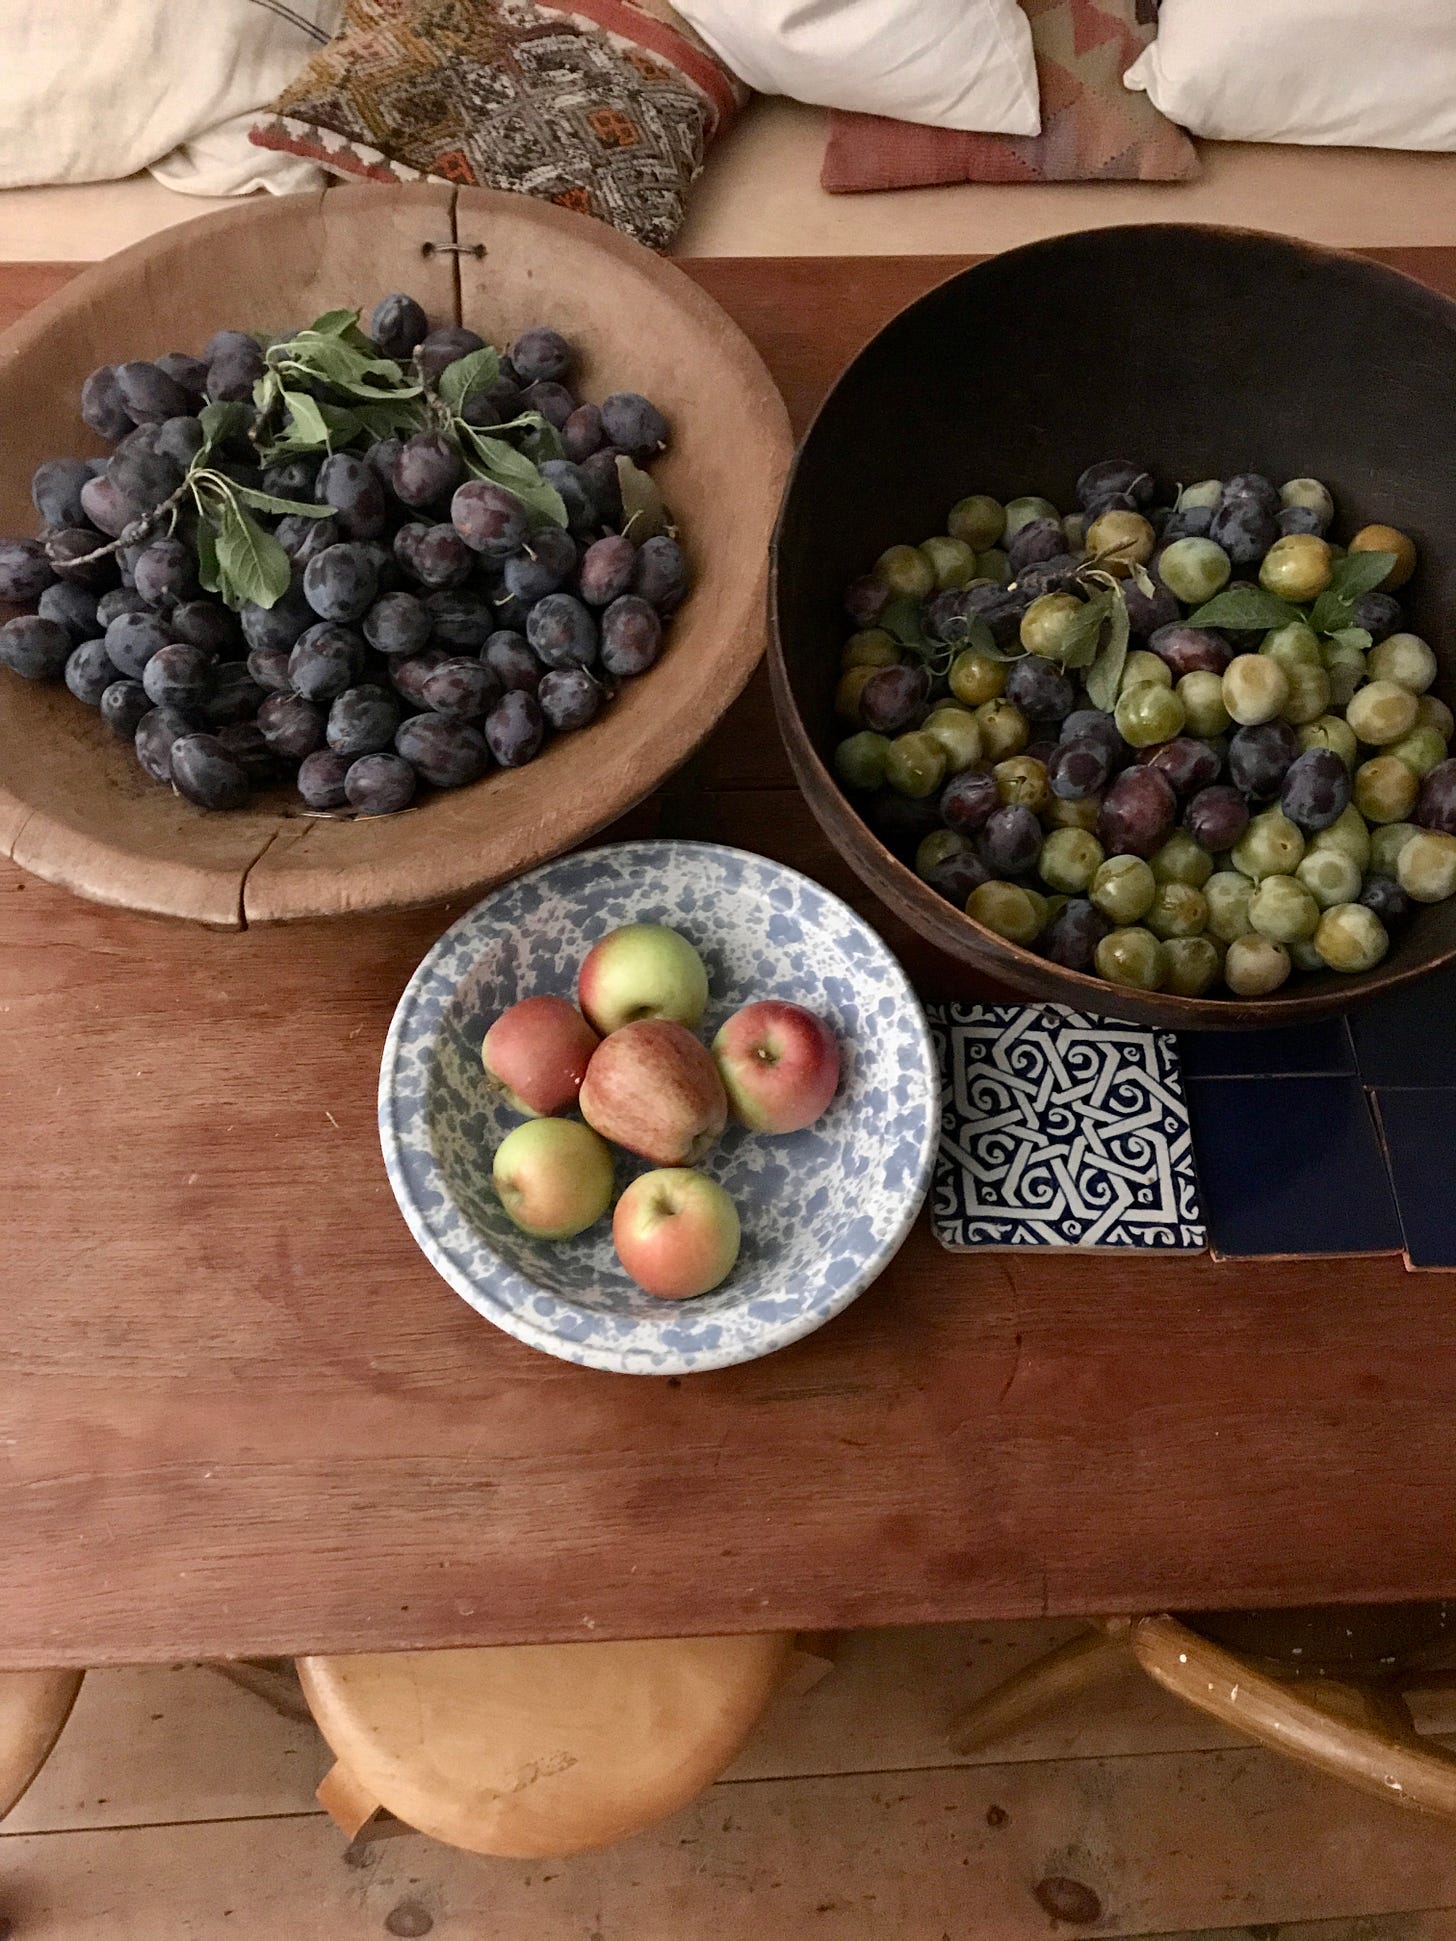
I really really love plums. To me they have a kind of understated elegance. They are confidant without being showy, they are romantic but in a grown-up kind of way…feminine but not frilly. They can be sweet and tart and juicy and rich all at the same time. Their colours are sublime…from the deepest red to the softest chartreuse…and they are as at home in savory dishes as they are in a dessert.
My grandfather used to make a big batch of plum sauce every year. He bottled it in old glass soda bottles and it was used throughout the year much like tomato sauce or ketchup…I liked it on sausages or a lentil burger. My guess is that it had onion and allspice in it along with plenty of sugar…maybe brown sugar? I will have to see if someone in the family has the recipe. Later I discovered a Diana Henry recipe for a Georgian plum sauce. In it, fresh plums are cooked with prunes (aka dried plums) a little sugar, garlic, vinegar, cayenne and lots of dill…it is magical and opened a whole world of cooking with plums for me.
Plums are wonderful roasted with a little honey and thyme…or slice some plums and arrange them on a plate then infuse some honey with thyme by heating them gently together and drizzle over the top of the fresh sliced plum. Pair with some lovely soft cheese- anything from burrata to Brie to goats curd- a few spicy greens, a couple of roasted Shishito peppers or blanched French or yellow wax beans and a handful of soft herbs. A squeeze of lemon, drizzle of olive oil and some good bread on the side to mop up and you have yourself a perfect meal.
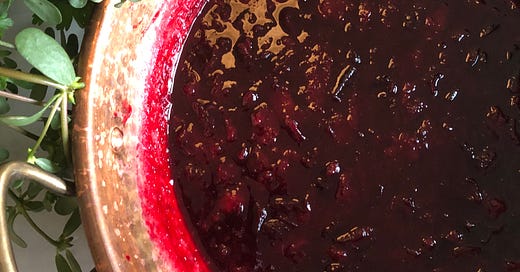
The only jam I make a real point of cooking each year is plum jam. It is one of my most anticipated seasonal rituals and it keeps my cupboard stocked with rich colorful jam for the long winter months. It is worth making a red plum jam for the color alone!
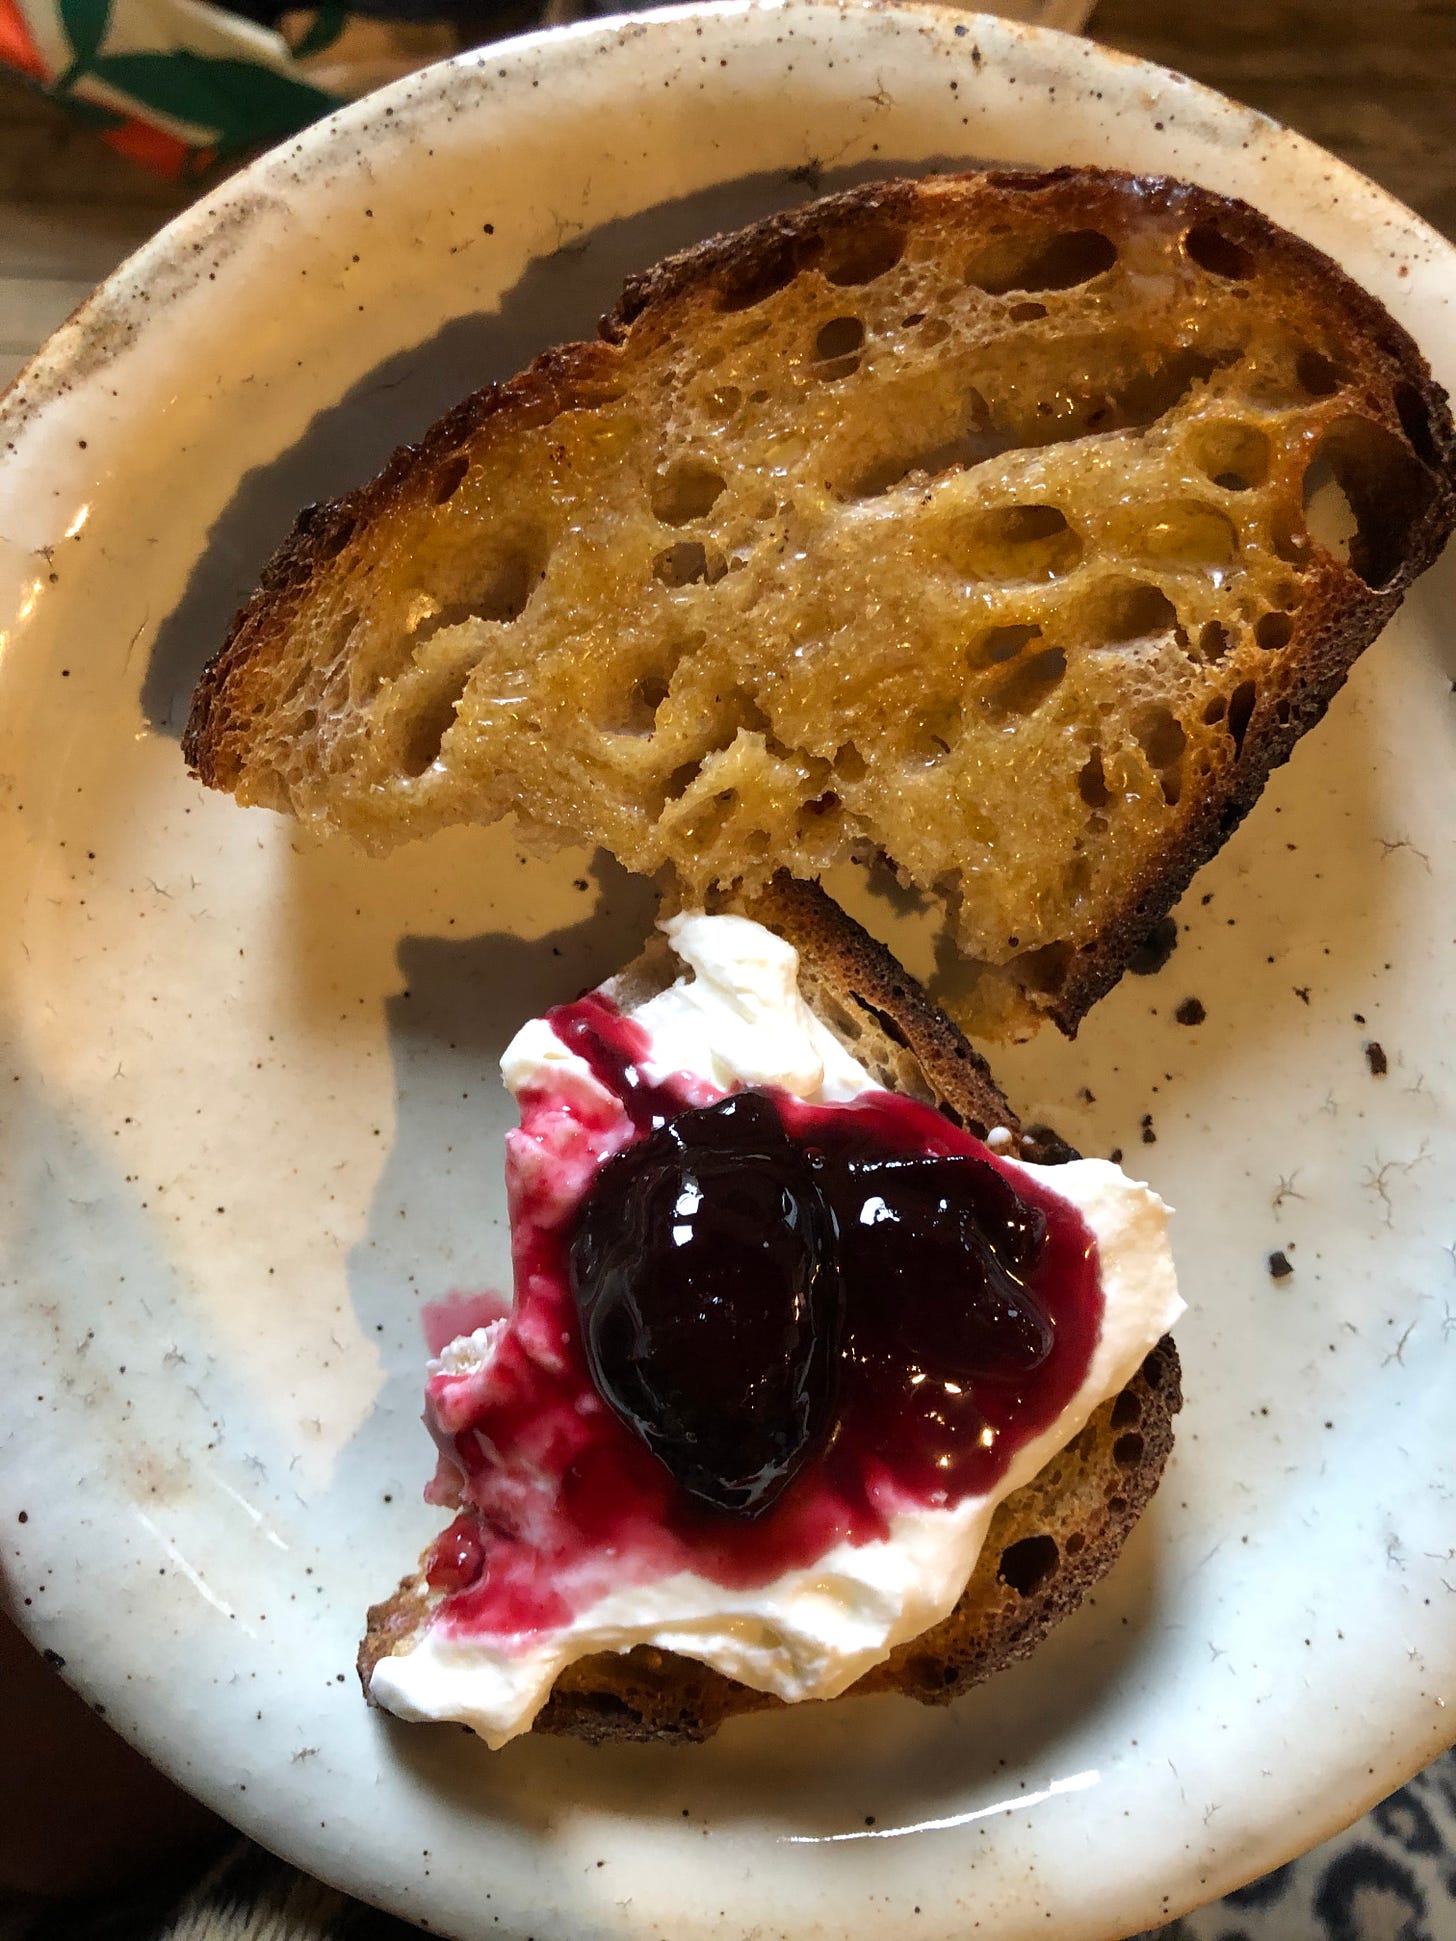
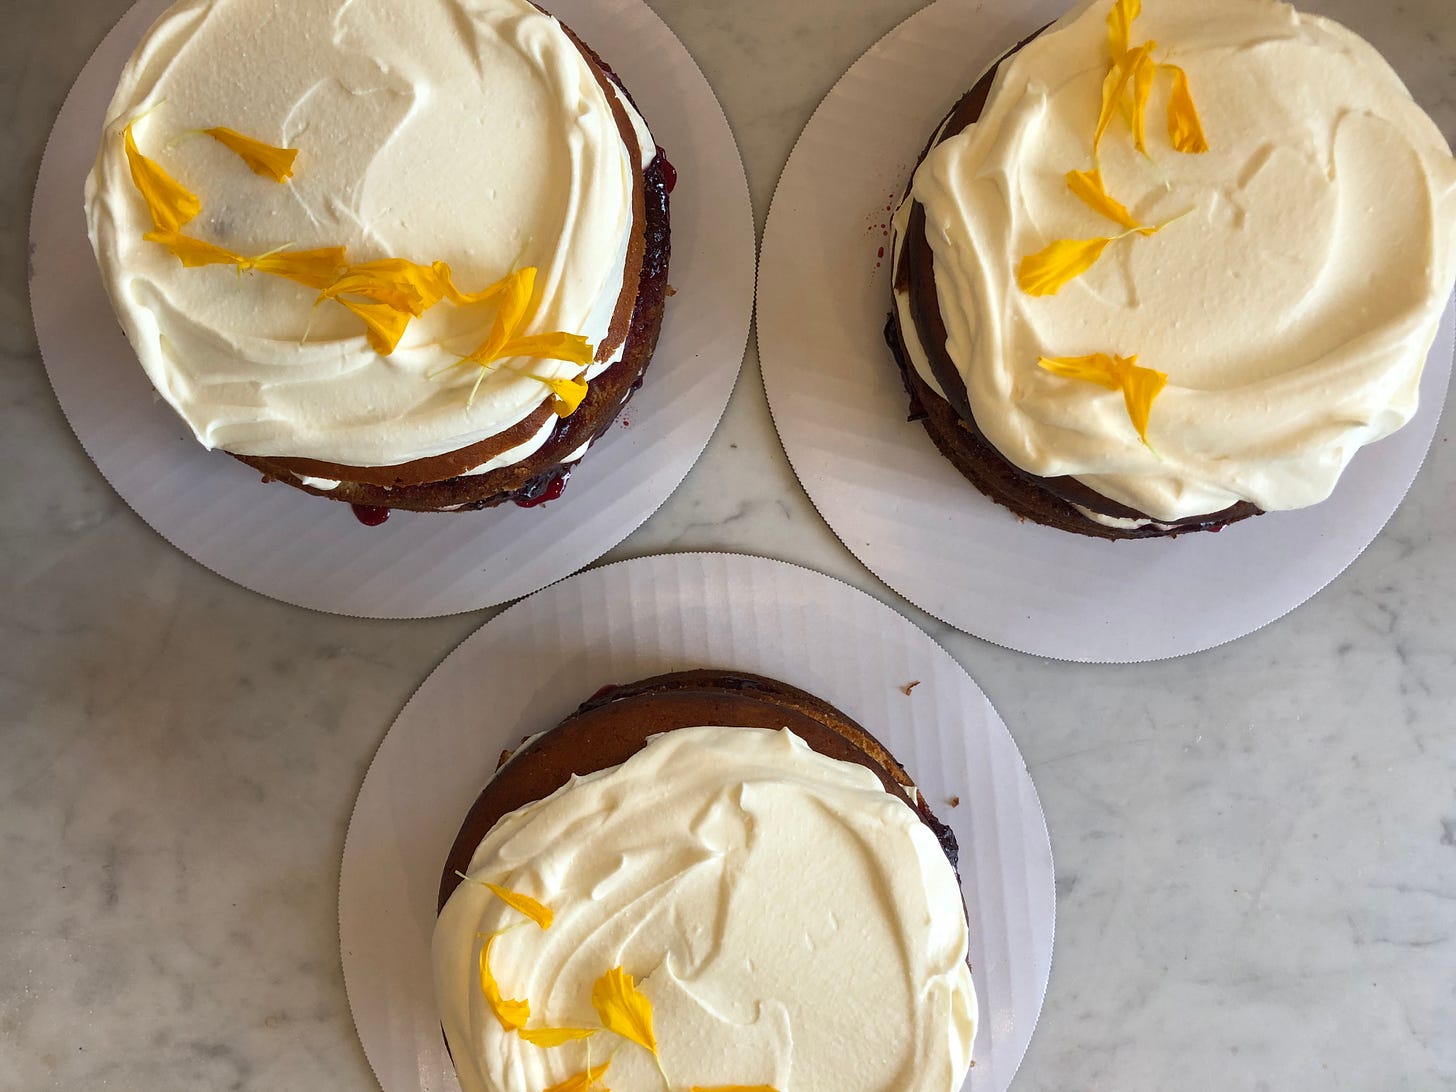
Aside from eating plum jam on toast with plenty of butter (my preferred breakfast), I also love to layer it in an olive oil cake with lots of lovely ricotta whipped cream. We made this cake a lot for a time at Ochre, when we had a glut of plum jam, and I think it translates even better in a home kitchen. The cake is one that I published on Vogue.com during the first weeks of lockdown in 2020. It is adapted from a cake by Sevtap Yuce who I worked with at her restaurant Beechwood Cafe in my mid twenties, in the coastal town of Yamba, Australia. Sevtap was a fundamental influence on my cooking style and philosophy and drove into me the beauty of simplicity in cooking…make it clear and clean and let the ingredients sing.
Plum Jam
Jam making does not need to be a big, scary production. Small quantities of jam are great to make and use at home and you can keep it in the fridge if you don’t want to go to the hassle of sealing it properly. In fact, I don’t ever remember hearing about having to ‘properly’ seal jars of jam for home use until I moved to America. At home in Australia we always made jam and stored it in clean recycled jars, sterilized with boiling water, out of the fridge for up to a year. That said, as a disclaimer, I am not recommending this, it’s just a cultural observation! If in doubt, keep it in the fridge and don’t eat jam that’s growing mold. Here I am giving my method for jam that I keep in the fridge.
You can make jam with almost any quantity of fruit, though if you make too small a batch it can burn easily. 1 kilo of fruit (just over 2 lbs) is a good place to start- it will give you enough jam for your home and a jar or two to share if you wish. I think it is always nice to gift a jar of jam when you make a batch, a small gesture to the community gods.
As a general rule I make jam with 4 parts fruit to 3 parts sugar. It is much easier to use the metric system when measuring: for every kilo of fruit use 750g of sugar. Sometimes it is nice to use less sugar, but you run the risk of not having enough sugar to actually preserve the fruit, making it less shelf stable. In this case, keep it in the fridge and use within a month.
One note here about the lemon: I always use lemon in jam, it balances flavour and provides extra pectin. The seeds actually have pectin in them also and if I am making a jam using fruit with very little pectin, such as strawberry, I will put the seeds in a piece of cheesecloth and cook it with the jam, fishing it out at the end. I don’t bother with the seeds for plum jam, as they are pectin-y enough on their own. Other ways to get pectin into your jam is to use the core of an apple, pear or (especially) quince, using the cheesecloth method, but again, I don’t find that necessary here.
When making jam, one single sugar crystal can crystalize the whole batch. This used to really stress me out, but I found that combining the fruit and sugar at least 1 day and up to 4 days before cooking it will really help with this- the sugar begins to dissolve and it takes less time to cook the jam, also making for a more vibrant tasting jam as it spends less time on the heat. Another helpful trick is to have a clean pastry brush and a cup of water next to the stove as you cook the jam- if any sugar crystals catch on the side of the pan simply brush them down with the wet brush. Other equipment to have at the ready is a flat wooden spoon or a heat restitant spatula, a large metal spoon (preferably with a long handle) and a bowl, and a ladle or small jug to transfer the jam to jars or containers. I give all my equipment a wash and then a rinse down with boiling water before I start.
1000g /1 kg plums (weight without seeds) that have been pitted and roughly cut (I usually quarter half of them and cut the rest into slightly small pieces
750g sugar
1 lemon, juiced, discard the seeds but keep the skin
Combine the plums, sugar, lemon juice and lemon skin in a non-reactive container or bowl and refrigerate overnight and up to 4 days. Place a couple of small saucers or plates in the freezer (you will use these to test if the jam is done).
Wash your jars with hot soapy water and then fill with boiling water and stand for a few minutes to remove any bacteria. Drain and air dry on a clean kitchen towel. Stand them upright ready to fill as soon as the jam is done.
Place the fruit mixture in a saucepan large enough to easily hold the jam (it will bubble up so make sure there is plenty of room- ideally the jam should come no more than half way up the sides)
Turn on the heat to medium high/high and bring to a boil, running a spatula over the bottom every now and then to make sure it is not burning on the bottom. As the jam boils it will produce a foam, remove as much of the foam as you can. Continue boiling the jam, stirring occasionally, for about 15-20 minutes. You will start to notice it changing color and texture slightly. Test the jam by removing a plate from the freezer and dropping a small spoonful of jam onto it. Leave for a minute and then check it- if it has developed a skin over it, or if you can draw a line through the jam and it stays, it is done. If not, continue cooking a little longer, checking every 5 minutes. You don’t want to cook it too long or it will turn to toffee. Once the jam is done, remove fro the heat.
While it is still very hot, ladle the jam into jars, leaving 1/4 of an inch (1/2 a cm) at the top. Clean the tops the jars with a clean wet paper towel and then screw the lid on and turn upside down to help seal. Leave upside down overnight to cool before storing in the fridge for up to 3 months.
Olive Oil Cake with Plum Jam and Ricotta Whip
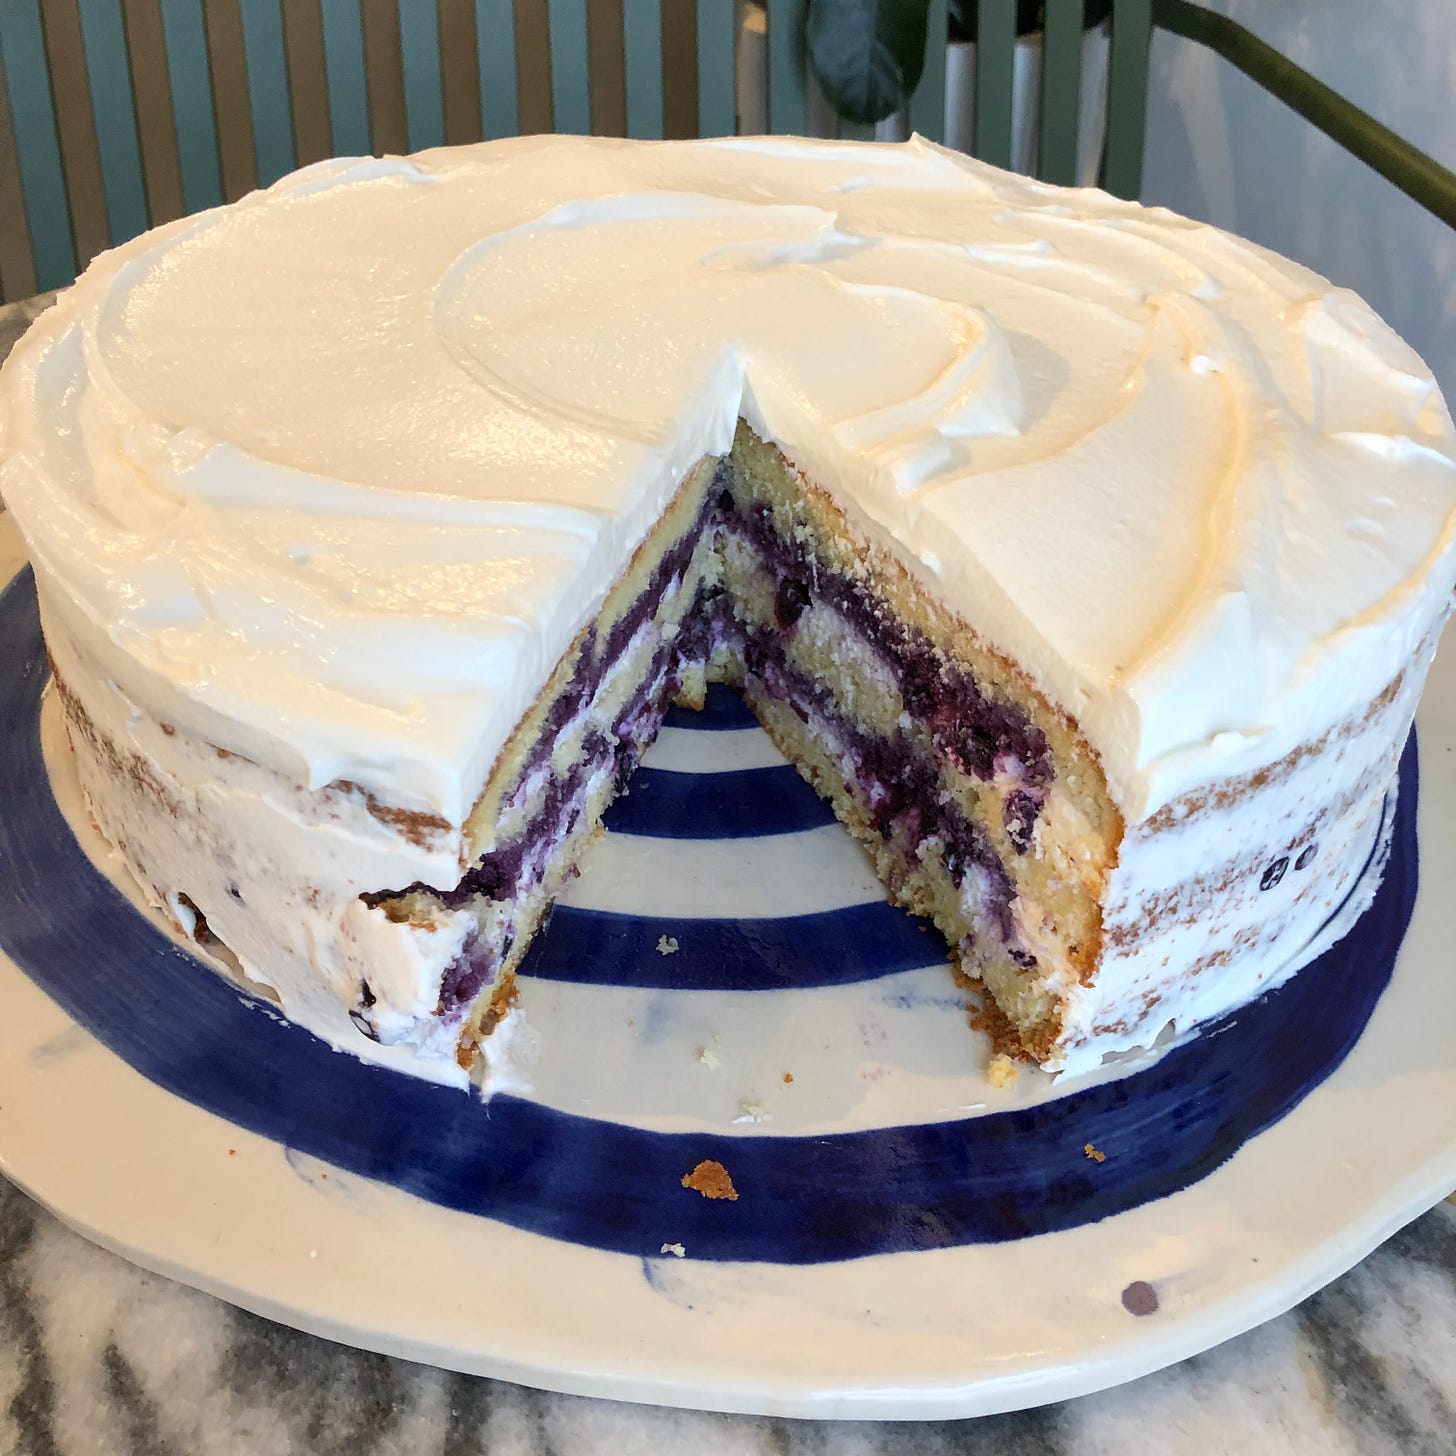
A wonderful celebratory cake that is delicious, looks amazing, holds really well, and is very easy to make. You can make this with any jam, but I love it with a deep red plum jam. Ricotta whipped cream is a great kitchen staple- it feels like a trick, it is so simple, but has so many applications. I use it to replace whipped cream in most applications. The ricotta stabilizes the cream so that it holds and looking amazing for days. It is texturally satisfying too, smooth and denser than whipped cream but still light enough to accompany fruit. Here I sweeten it with a little honey, but powdered sugar works too.
Cake
3 eggs
1 1⁄3 cups sugar
1 cup extra virgin olive oil
1 cup natural yogurt
2 cups all purpose flour
2 tsp baking powder
1⁄4 tsp fine sea salt
Makes an 8 inch cake
Preheat oven to 350* F. Grease and line the cake tin with baking paper.
Whisk eggs and sugar in an electric mixer until light and fluffy- this will take about 10 minutes. Start on a low speed and increase the speed to med-high after 3 minutes to ensure a fine dense bubble.
Measure the yoghurt and olive oil into a jug or bowl. Turn down the speed on the mixer to low and slowly add the olive oil and yogurt. Turn off the mixer as soon as they are incorporated with the eggs.
Whisk the dry ingredients together in a large bowl. Make a well in the center and pour in the wet mix. Fold until completely combined but don’t overmix.
Pour into the prepared pan and bake for 50-60 minutes until a skewer inserted into the center removes clean. Cool in the tin for 10 minutes before turning out onto a plate or cooling rack. Cool completely before assembling the cake.
Jam
Use 1/2 to 1 cup of plum jam from the above recipe OR make a quick jam as below:
1 c plums, seeds removed, roughly chopped
3/4 c sugar
lemon juice, good squeeze
place the plum, sugar and lemon juice in a bowl and leave for an hour or so to combine.
place in a smallish saucepan and cook, stirring occasionally for 10 minutes, removing any foam, until slightly thickened. leave to cool completely before use.
Ricotta Whip
1 cup of heavy whipping cream,
1 cup ricotta (from a tub if fine)
2-3 T runny honey, to taste
In a mixer with a whisk attachment, combine the cream and ricotta. Whip the mixture starting on a medium speed until soft peaks begin to form. Drizzle in the honey starting with 2 tablespoons and adding more if needed- you want it to just be gently sweetened, not overpowering. Continue to whisk on low speed until the cream is soft and billowy and the peaks hold but be careful not to go too far- you do not want it to look bumpy or curdled. Refrigerate until ready to use.
To Assemble:
Carefully cut the cake into 2 layers using a large knife. Place the bottom layer onto a serving plate. Spread over enough jam to generously cover, about 1/2 a cup but it may require more. Dollop on about a third of the ricotta cream on top of the jam, using the back of a spoon or an offset spatula to spread just to the edges. Gently lay the top layer of cake over the cream. Ideally you want to assemble the cake the day before you wish to serve it as the flavors and texture will have time to develop. To serve, Spoon the remaining cream onto the top of the cake and spread with the back of a spoon or offset spatula.

